Configuring DNS at GoDaddy for StoreFronts
- Jonathan Tew
- Loyd James (Unlicensed)
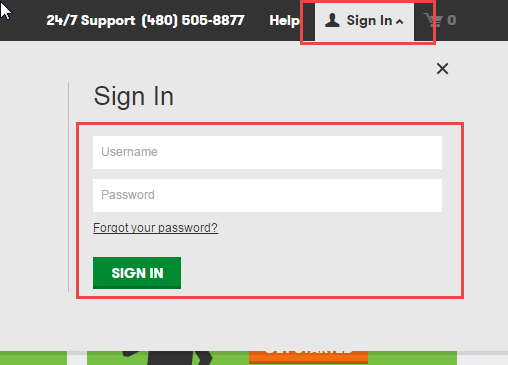
First go to GoDaddy.com, click the Sign In button, fill out the credentials and click Sign In as shown below.
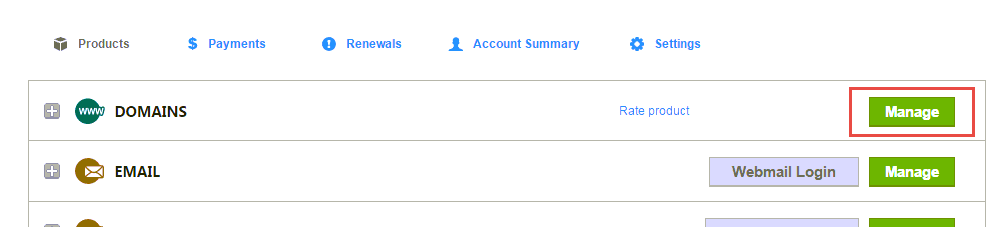
Click "Manage" on the Domains section.
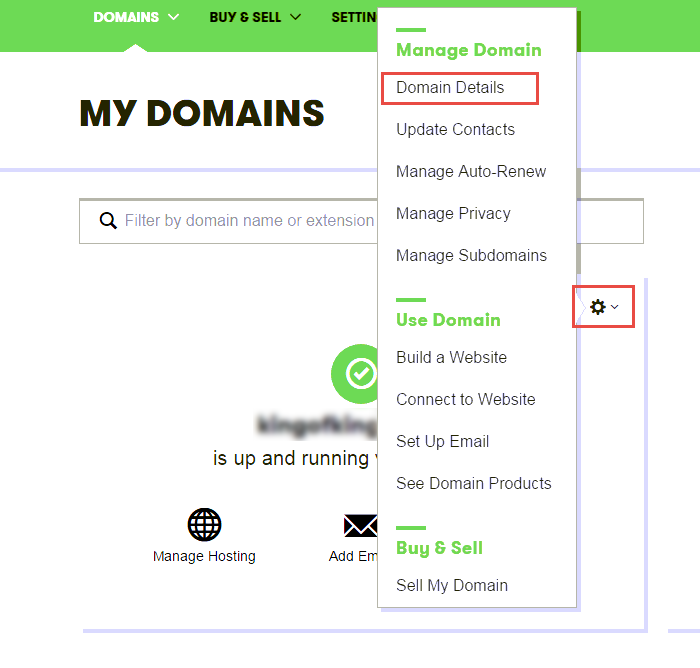
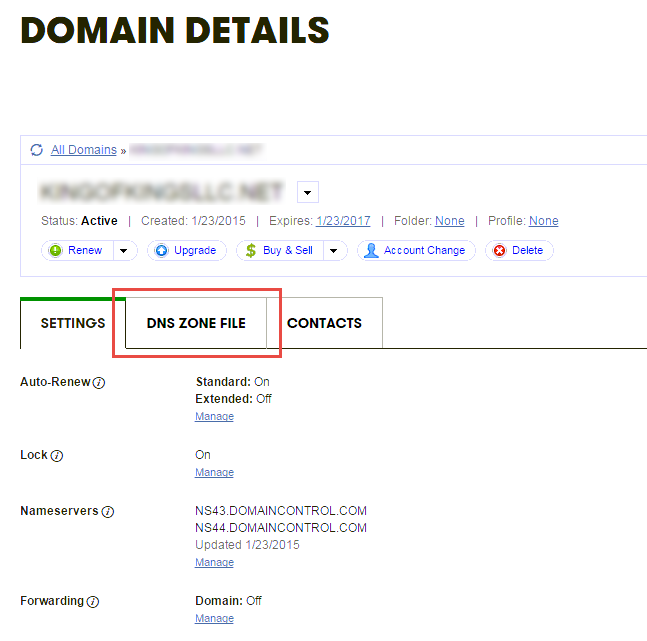
Click the settings gear icon for the domain you are working with then click on "Domain Details".
Click on "DNS Zone File".
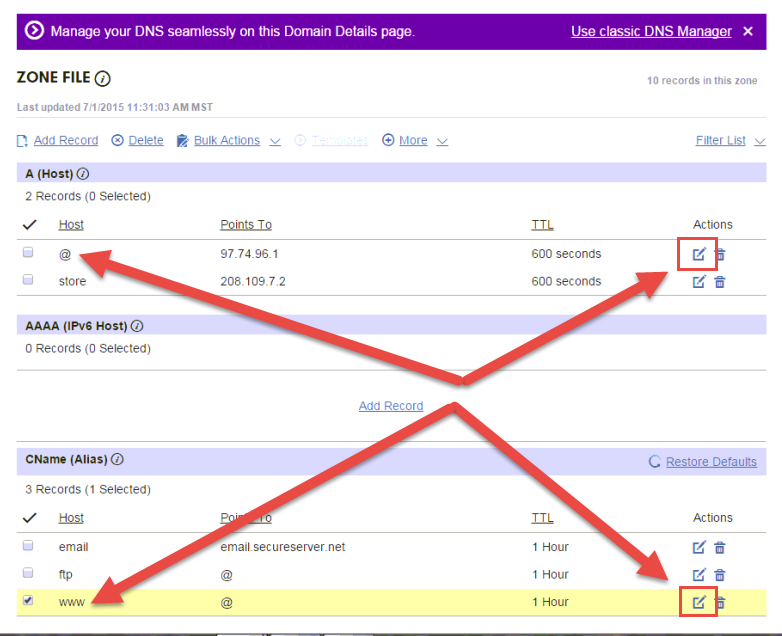
In this example we are going to point our entire domain at StoreFronts so we need to edit the @ record which is root of the domain as well as the www CNAME alias. Locate these two records and click the pencil icon for each as shown below.
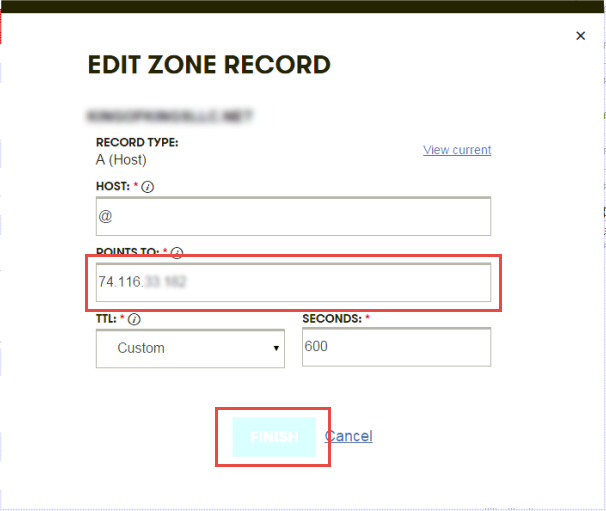
For the root @ record you have to use the numerical IP address for the SSL certificate provided to you by UltraCart in the DNS setup instructions email. Enter that into the Points to field and click Finished as shown below.
Low TTL
We recommend that you change the TTL to "Custom" and "600" seconds so that your DNS reacts quicker to changes.
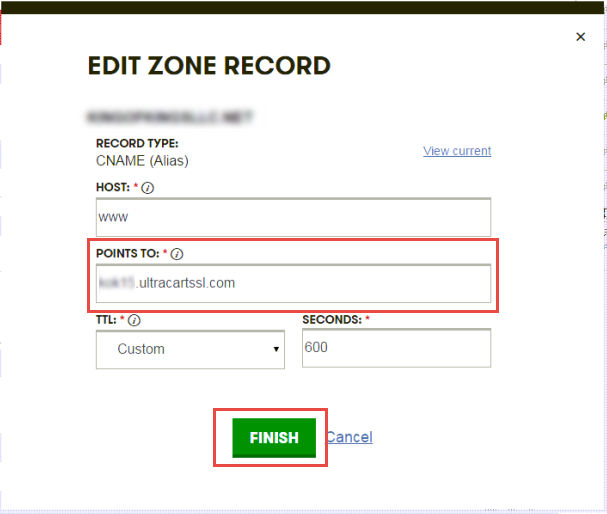
Now on to the www. CNAME Alias record. Change that to the MID.ultracartssl.com value provided to you in the DNS setup instruction email.
Low TTL
We recommend that you change the TTL to "Custom" and "600" seconds so that your DNS reacts quicker to changes.
Now click the "Save Changes" link as shown below.

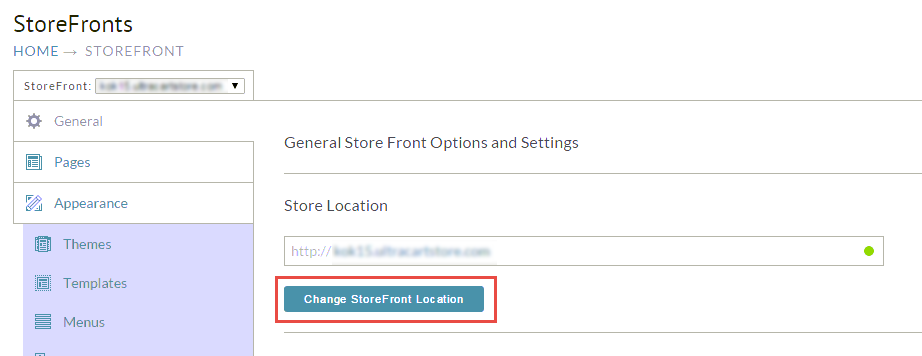
Back in your UltraCart StoreFront General tab, click the "Change StoreFront Location" button and complete the activation of your location change.