/
Adding Item Specific Content to the Receipt
Adding Item Specific Content to the Receipt
- Jonathan Tew
Owned by Jonathan Tew
Oct 05, 2015
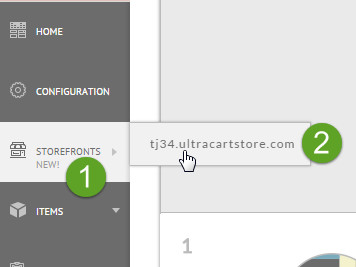
The following tutorial will guide you through adding content to the receipt that is only displayed when the customer purchases a specific item. First hover over the StoreFronts menu on the left hand navigation and select the StoreFront you're working with as shown below.
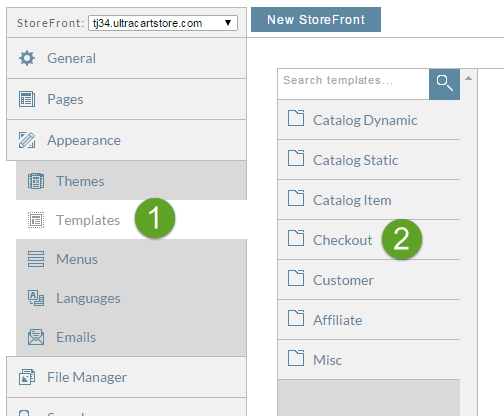
Next click on "Templates" and then click on "Checkout"
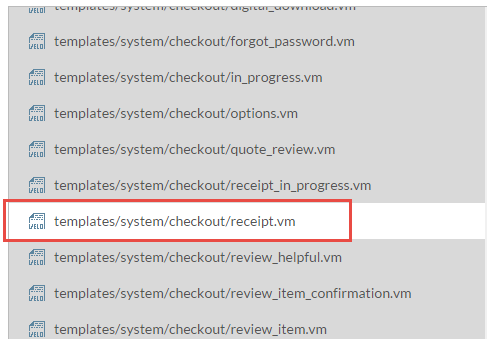
Scroll down until you reach "templates/system/checkout/receipt.vm" as shown below.
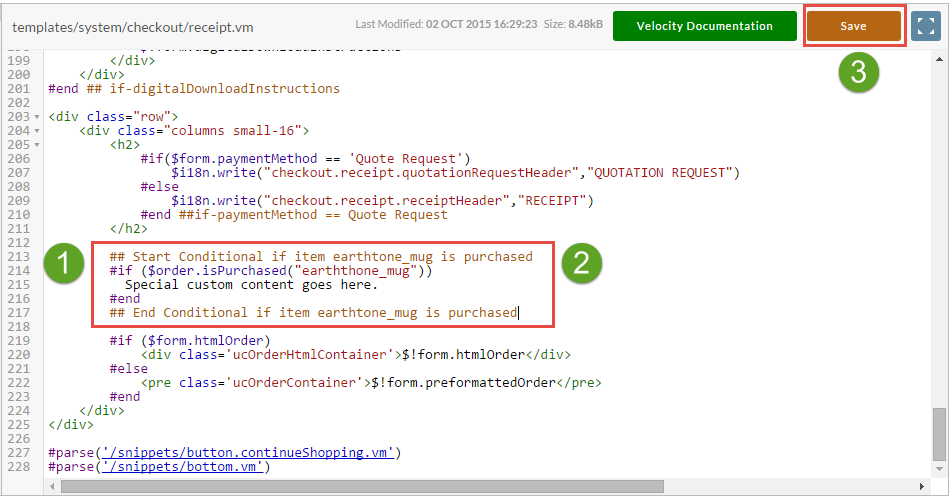
Now scroll down in the file to around line 213 where you will find "form.htmlOrder". We are going to place our content just above that. An example snippet of code is:
        ## Start Conditional if item earthtone_mug is purchased
        #if ($order.isPurchased("earththone_mug"))
          Special custom content goes here.
        #end
        ## End Conditional if item earthtone_mug is purchased
After placing the code into the page, make sure to click save. The steps are shown below.
, multiple selections available,
Related content
Adding Conditional Text to the Receipt Email
Adding Conditional Text to the Receipt Email
More like this
Adding text to the checkout when a specific item is being purchased
Adding text to the checkout when a specific item is being purchased
More like this
Adding item specific content to email
Adding item specific content to email
More like this
Using a custom thank you screen
Using a custom thank you screen
More like this
Adding Purchase Bubbles
Adding Purchase Bubbles
More like this
Item SFO
Item SFO
Read with this