Adding a link to a menu
- Perry Tew
- Loyd James (Unlicensed)
- Jonathan Tew
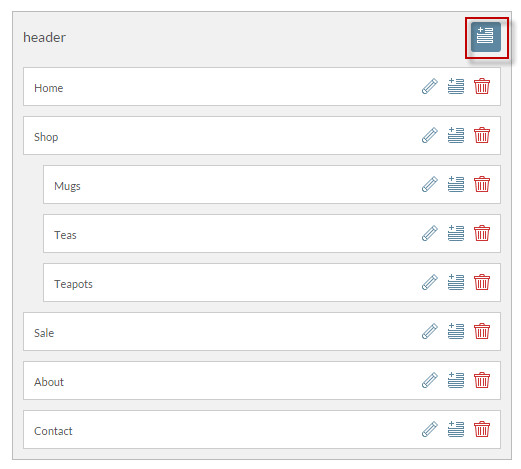
This document will explain how to quickly add a link to an existing menu. For the purposes of this demonstration we will add a link to an external blog site to the header menu. First let's look at what the header menu currently looks like on our site.

Our goal is to add "Blog" to the menu and position it between Sale and About. The first thing we have to do is click on Menus on the left within our StoreFront.

Scroll down and we'll see the header menu. Click on the add button as shown below.
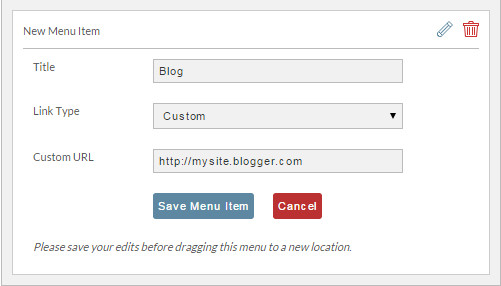
A new entry will appear at the bottom of the menu. As you can see below we have given the new menu item the title of "Blog", selected "Custom" as our Link Type and then entered the Custom URL for the blog site.
Next we need to click on the new menu entry's title and drag it to where we want within the menu.
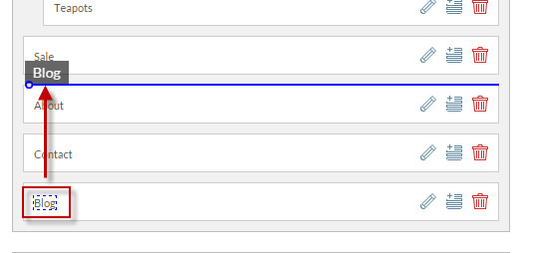
Now the new menu item appears on our site.
