Redirecting Old URLS to Prevent 404 Errors
- Jonathan Tew
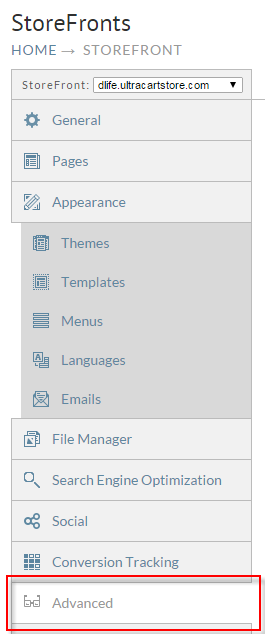
It's important to tell customers and search engines where content has moved to prevent 404 errors. To configure redirects with StoreFronts navigate to the Advanced tab.
Next enter the redirect that you want to configure. For example if my URL was http://www.myproductsllc.com/products.html on my old site and then the new URL will be http://www.myproductsllc.com/products/ after activating StoreFronts, then configure the following reidrect.
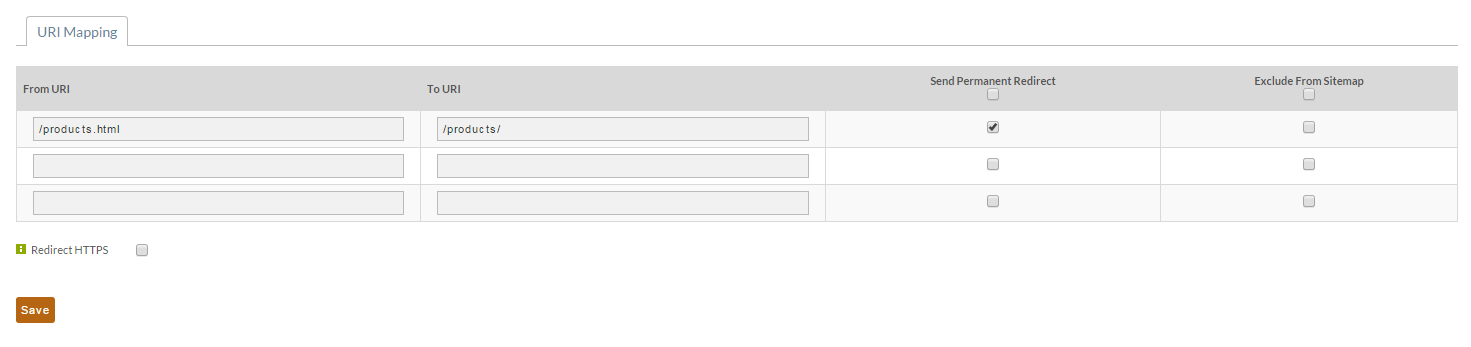
Notice that we are only entering the URI portion (the part after the host name in the URL) and checking that this is a permanent redirect. The "Send Permanent Redirect" option is important because search engines are told that the content has moved for good to a new location. This allows them to retain the history of the page and it's page rank.
If you need move spaces, simply hit Save. The page will refresh and additional URLs will be possible.
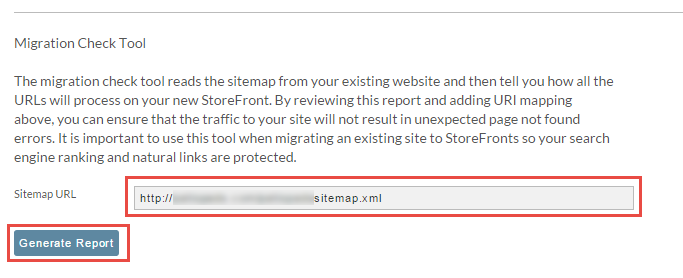
Using the existing site's sitemap file to make sure everything redirects properly.
In this tutorial we will use the Migration Check Tool located on this page to make sure we have everything mapped properly. The first thing we need to do is enter the URL for our existing site's sitemap as shown below and then click generate report.
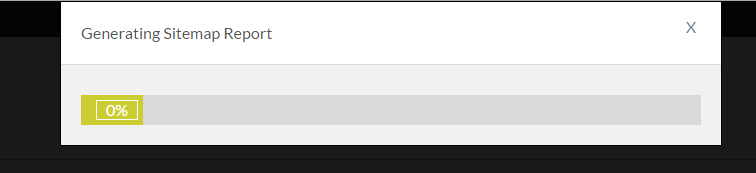
The system will download the sitemap and then generate a Excel report file. While the report is generating your screen will show a progress bar.
Once the report has been generated it will download to your machine. Open the Excel document.
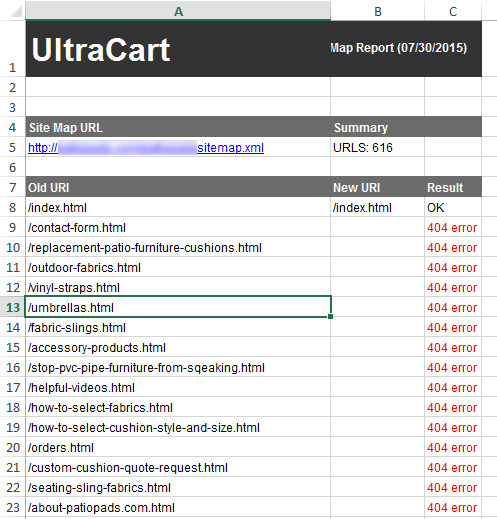
For each URL that is a 404 error you should create a From -> To URI mapping with the send Permanent Redirect Option.