Building a Password Protected Wholesale Area Tutorial
- Jonathan Tew
- Perry Tew
This information is for the legacy Catalog that has been replaced by UltraCart StoreFronts as of May 2015.
This information remains for long time merchants who may still be using a legacy catalog. Please see the StoreFronts User Guide for current catalog technology.
Building a Password Protected Wholesale Area Tutorial
This tutorial will walk you through all the various steps to building a password protected wholesale area. This is one of those topics that cuts across a wide number of segments within the UltraCart platform. We'll touch on:
- Configuring pricing tiers
- Creating a customer profile associated with the pricing tier
- Coding the catalog template for the wholesale page.
- Creating a group within your catalog that has restricted permissions
- Assigning items to a catalog group
- Testing the wholesale page
Configuring pricing tiers
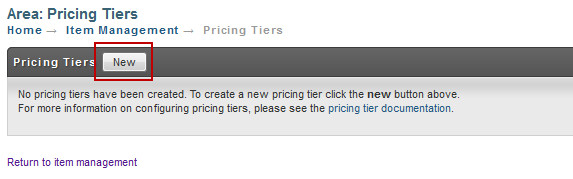
The first thing we need to do is configure a pricing tier on the account for the wholesale customer. Pricing tiers are configured under:
Click on the new button as shown below.
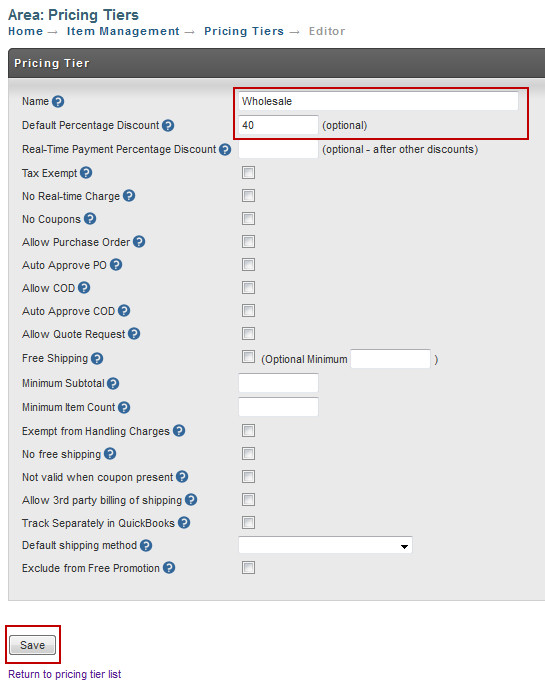
On the new pricing tier we will give it the name of "Wholesale", set it to a 40% discount as shown below, and then click save.
Creating a customer profile associated with the pricing tier
The next step in the process is to create a customer profile that has this pricing tier. Customer profiles are managed under:
Click the new button as shown below.

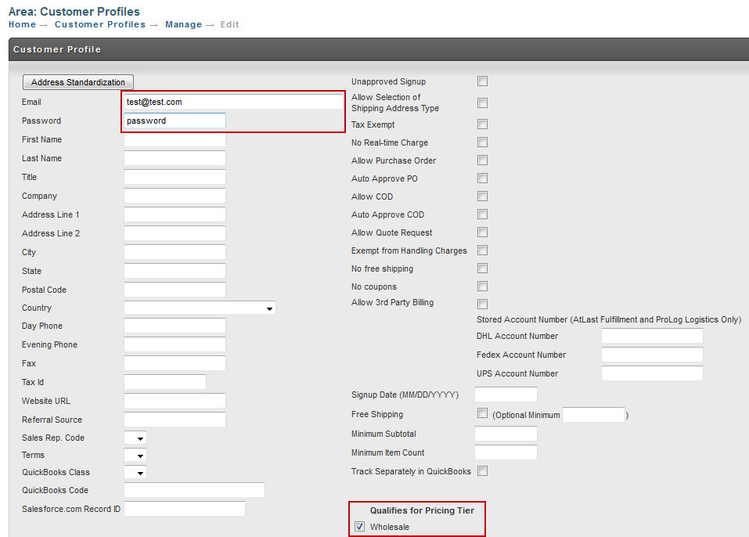
Enter the email for the customer profile, a password, select the Wholesale pricing tier, and then click save.
Coding the catalog template for the wholesale page.
The next step is to create the template for the wholesale page. Templates are managed under:
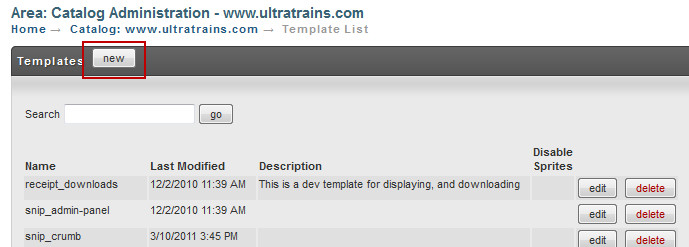
Click the new button as shown below.
In the template editor name the template "template_wholesale", check the Group and Item boxes, copy the code below into the template field and then click save as shown below.
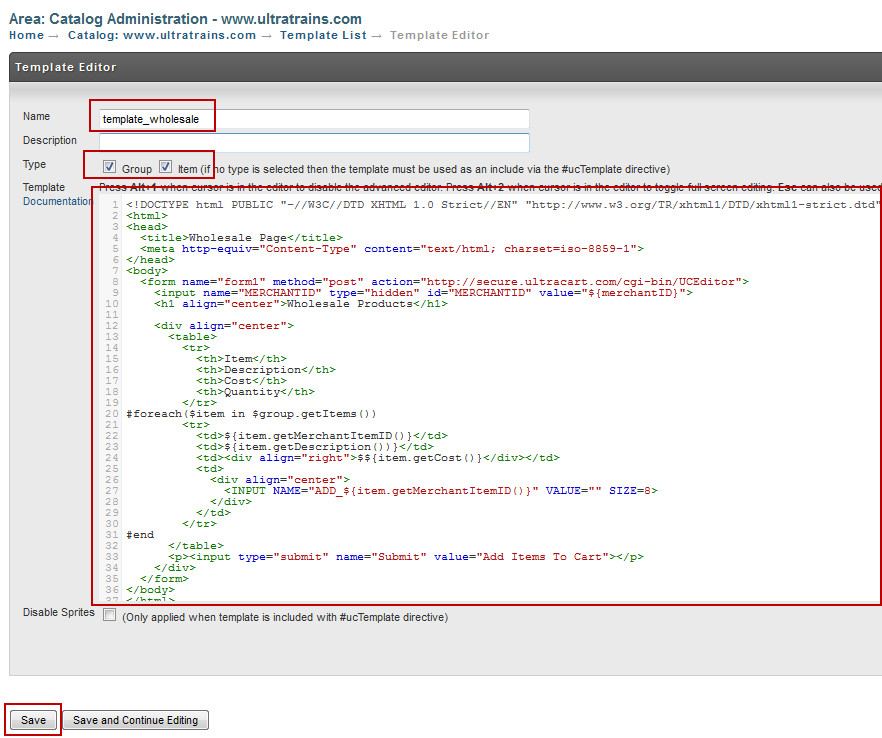
The code for the sample template is below:
<!DOCTYPE html PUBLIC "-//W3C//DTD XHTML 1.0 Strict//EN" "http://www.w3.org/TR/xhtml1/DTD/xhtml1-strict.dtd">
<html>
<head>
  <title>Wholesale Page</title>
  <meta http-equiv="Content-Type" content="text/html; charset=iso-8859-1">
</head>
<body>
  <form name="form1" method="post" action="http://secure.ultracart.com/cgi-bin/UCEditor">
    <input name="MERCHANTID" type="hidden" id="MERCHANTID" value="${merchantID}">
    <h1 align="center">Wholesale Products</h1>

    <div align="center">
      <table>
        <tr>
          <th>Item</th>
          <th>Description</th>
          <th>Cost</th>
          <th>Quantity</th>
        </tr>
#foreach($item in $group.getItems())
        <tr>
          <td>${item.getMerchantItemID()}</td>
          <td>${item.getDescription()}</td>
          <td><div align="right">${item.getCost()}</div></td>
          <td>
            <div align="center">
              <INPUT NAME="ADD_${item.getMerchantItemID()}" VALUE="" SIZE=8>
            </div>
          </td>
        </tr>
#end
      </table>
      <p><input type="submit" name="Submit" value="Add Items To Cart"></p>
    </div>
  </form>
</body>
</html>
Creating a group within your catalog that has restricted permissions
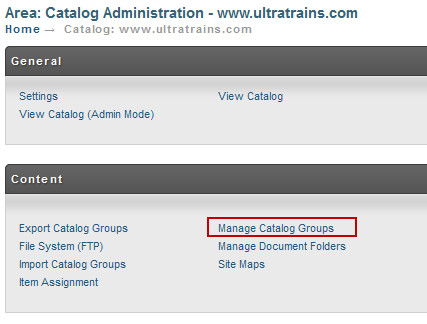
The next step is to create a catalog group and assign permissions to it. Go back to the catalog menu and click Manage Catalog Groups as shown below.
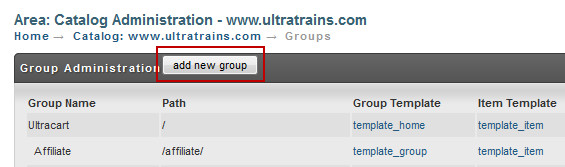
Click the add new group button as shown below.
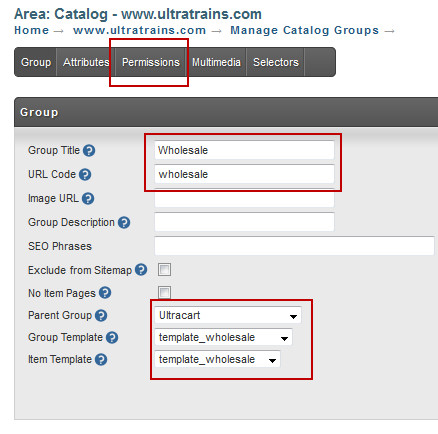
Name the group "Wholesale", give the url code the value "Wholesale", select the root group as the parent, select template_wholesale for the group and item templates, and then click the Permissions button as shown below.
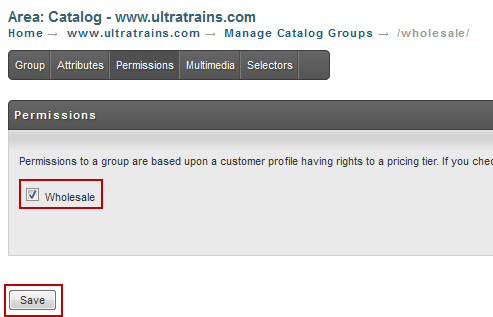
Now select the Wholesale pricing tier and click save as shown below.
Assigning items to a catalog group
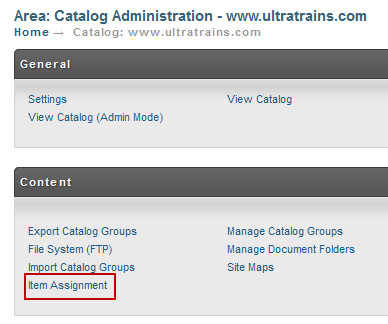
Now we need to assign some items to our wholesale catalog group. Navigate to the catalog menu and then click Item Assignment as shown below.
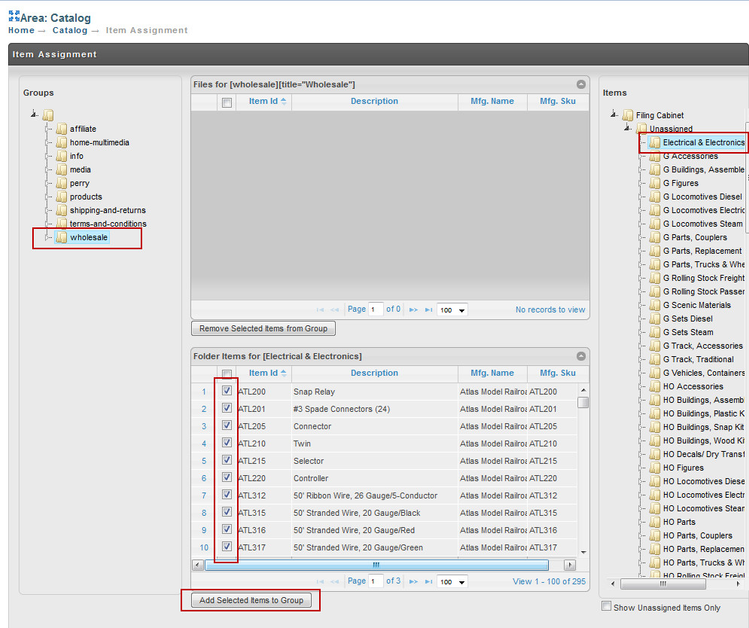
Click on the Wholesale folder on the left, a filing cabinet folder on the right, check the boxes for the items you want to assign and then click the Add Items to Selected Group button as shown below.
Testing the wholesale page
The final step is to test the wholesale page. Navigate back to the Manage Catalog Groups screen by clicking it from the catalog menu as shown below.
Now scroll down to the Wholesale group and click the "open in new window" button as shown below.

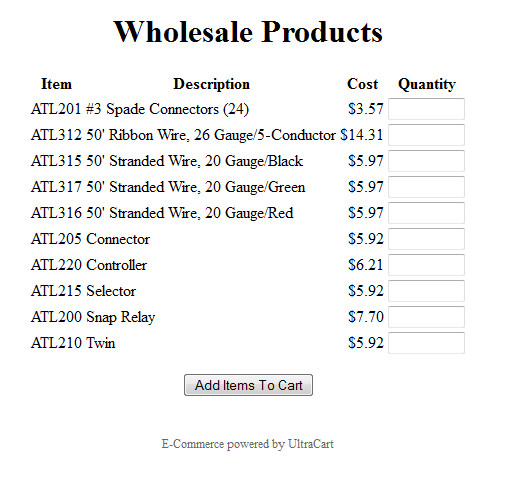
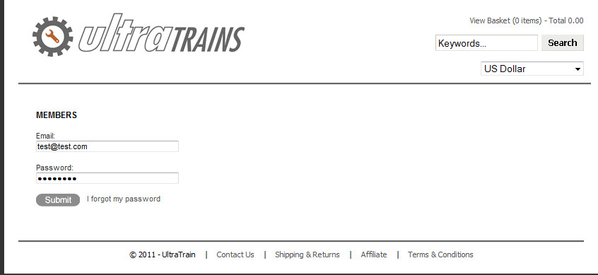
Notice that it immediately takes you to a customer profile login screen as shown below.
After the customer logs in the wholesale page will display as shown below.