Hello World - Catalog
This information is for the legacy Catalog that has been replaced by UltraCart StoreFronts as of May 2015.
This information remains for long time merchants who may still be using a legacy catalog. Please see the StoreFronts User Guide for current catalog technology.
In this quick example, we will setup two basic templates (group and item), create the root group of the catalog, assign a view items to the group, and view the different pages.
First, you need to navigate to the template management section:
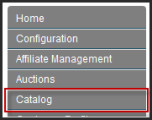
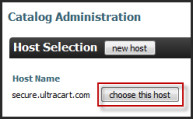
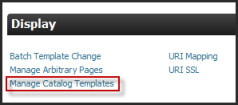
Login → Main Menu → Catalog → [choose a host] → Manage Catalog Templates
1) Select "Catalog" on the left hand navigation. | 2) Click [choose this host]. | 3) Click "Manage Catalog Templates" under the Display section. |
In the rest of this guide, the click trail for navigation will simply be spelled out using arrows like it is at the top of this page.
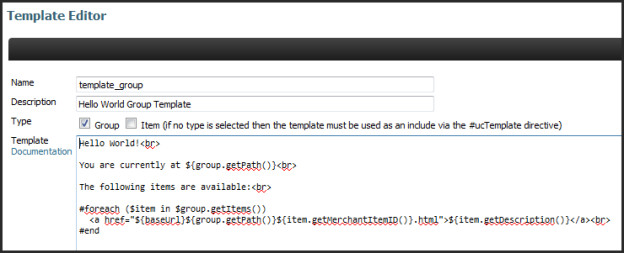
Now, click on the [new] button at the top of the page and create the following template. For your convenience, the source to the template script is provided below so you can copy and paste it.
Name: template_group
Description: Hello World Group Template
Type: Group
Template Code:
Hello World!<br>

You are currently at ${group.getPath()}<br>

The following items are available:<br>

#foreach ($item in $group.getItems())
<a href="${baseUrl}${group.getPath()}${item.getMerchantItemID()}.html">
${item.getDescription()}</a><br>
#end
Don't worry about the exact mechanics of the group template. The actual Velocity syntax and objects will be covered in later chapters. When your template looks like the following screen shot, click the save button at the bottom of the page.
Congratulations!
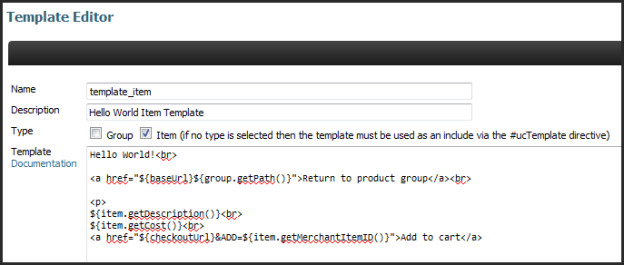
You have just created your first template. Now you need to create an item template that will give the customer more details about the product. Click the [new] button again and create the following item template. For your convenience, the source to the template script is provided below so you can copy and paste it.
Name: template_item
Description: Hello World Item Template
Type: Item
Template:
Hello World!<br>

<a href="${baseUrl}${group.getPath()}">Return to product group</a><br>

<p>
${item.getDescription()}<br>
${item.getCost()}<br>
<a href="${checkoutUrl}&ADD=${item.getMerchantItemID()}">Add to cart</a>
When your template looks like the following screen shot, click the save button at the bottom of the page.
At this point, you have created the two core templates that will be used in the Hello World example.
Next, you need to create the root group of the catalog.
- Click "Return to catalog main menu"
- Click "Manage Catalog Groups".
- Click the [Add new group] button located at the top of the page.
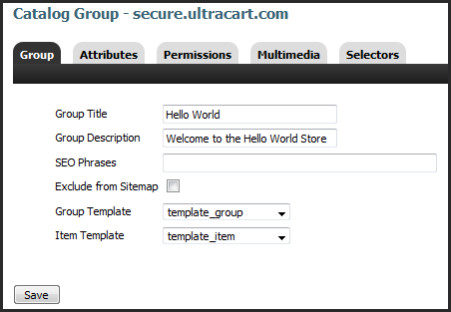
Give the root group a title and description, then select the group and item template to associate with the group.
Your configuration should look like the screen shot below. When it does, click [Save].
The final step is to assign some items to the root catalog group.
- Click "Return to catalog main menu"
- Click on the "Item Assignment 2.0" link.
This will launch the web based item assignment tool.
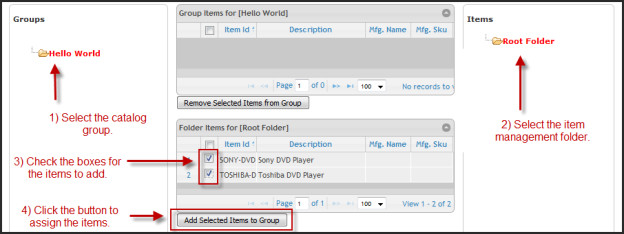
Below is a step by step guide to assigning two items to the root group we created.
After you assign the items, they will move from the bottom section to the top.
Now click the "Return to catalog home" link at the bottom of the page.
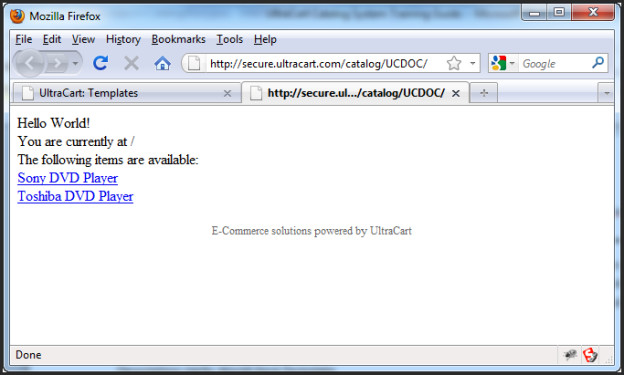
You are now ready to view the Hello World catalog. Click on the "View Catalog" link located in the general section of the catalog main menu. A new tab or window within your browser will open with your catalog. The group page should look like the screen shots below.
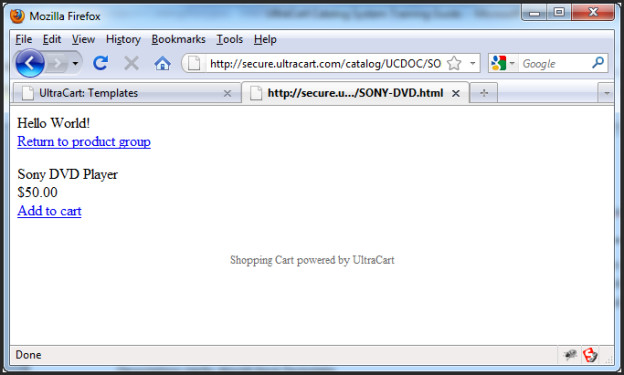
One of the item pages should look like the screen shot below.
Notice that you can move back and forth between the group and individual item pages. On the item page the description of the product and its price is displayed. Click the "add to cart" link to make sure it functions properly. After the product is added to your cart, you can click "continue shopping" and return to the catalog. Click on the "Return to product group" link and you will return to the group page.
While you will certainly not make a million dollars with your new Hello World store front, these are the basics of building a catalog. The rest of the training guide will go into depth on the individual features and best practices of implementing a catalog site.
