How to assign items from the Visual Builder
- Hunter Schaeffer
This tutorial will cover the process of assigning items into your storefront host, as an alternative to the item assignment options located in the item editor and also in the Storefronts pages editor.
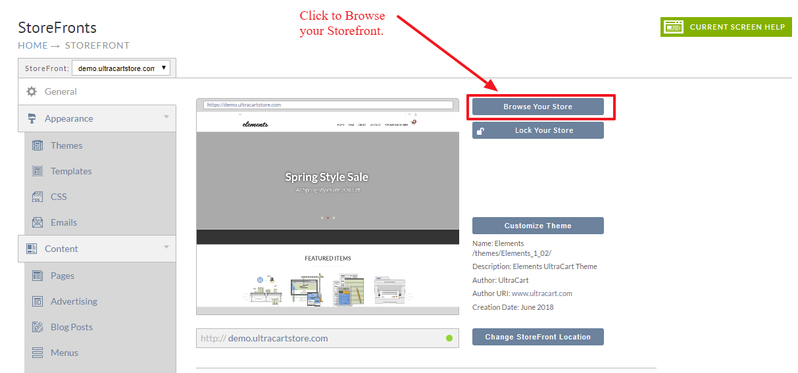
Let's head to the Storefronts menu, then click on the "Browse Your Store" button to view your storefront:
From there you'll notice that UltraCart has included menu along the top of the page:
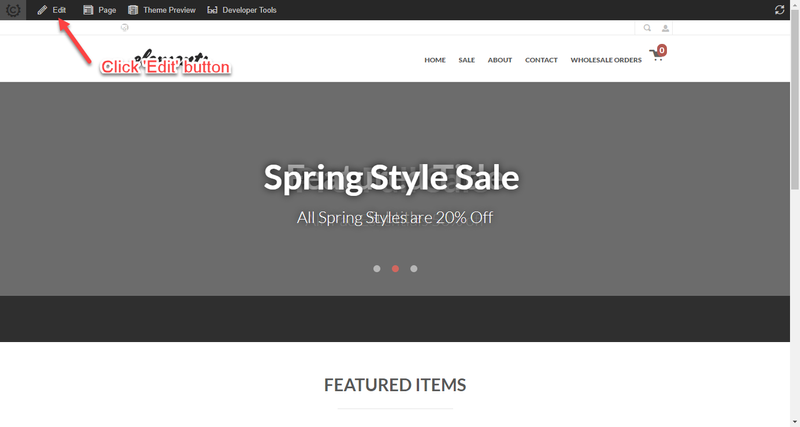
Once we are in the editing mode, the Storefronts Visual Builder can be used to add items to the page.
In this situation, we are starting out on the Home page of our Storefront host. The Home page contains a "Featured Items" section, which
uses a slider to display the featured items. First, Click "hierarchy" along the Visual Builder panel that appears along the right side of the page.
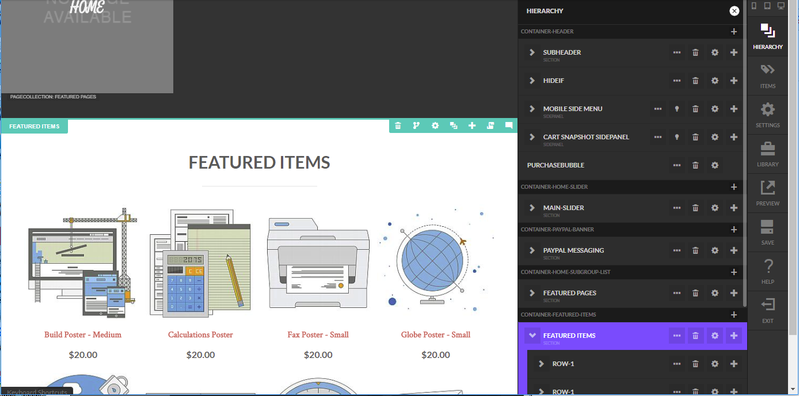
The hierarchy menu provides an easy way to browse through the various elements within the page. When we reach the Featured Items section,
we will see the section highlighted in a blue bordered box, illustrating that its the selected element:
Now let's go ahead and assign another item into the Feature Items slider. We will do this by mousing-over and highlighting that the specific
item we wish to replace:
Then clicking the setting button (which appears in the top-right corner of the highlight box around the item,
or via the setting icon that appears in the open hierarchy panel: