Batch Item Import
Introduction
This function provides the capability to batch import data files (items) into UltraCart. It is for merchants that can create or obtain a data file consisting of their store items (all, new, or updates).
Navigation
Store → Tools → Batch Item Import
Step 1: File Import
You can import an Excel CSV file containing your item information, and the items will be automatically created or updated with the specified information. Simply create a CSV file containing a column of Item IDs and a column of prices. Those two pieces of information are enough to create items or adjust prices on existing items.
If the file you selected for import is incompatible (non csv), you will receive a message to contact UltraCart Customer Support for assistance.
You will need to click the Choose File button and select a new file or contact UltraCart support for help.
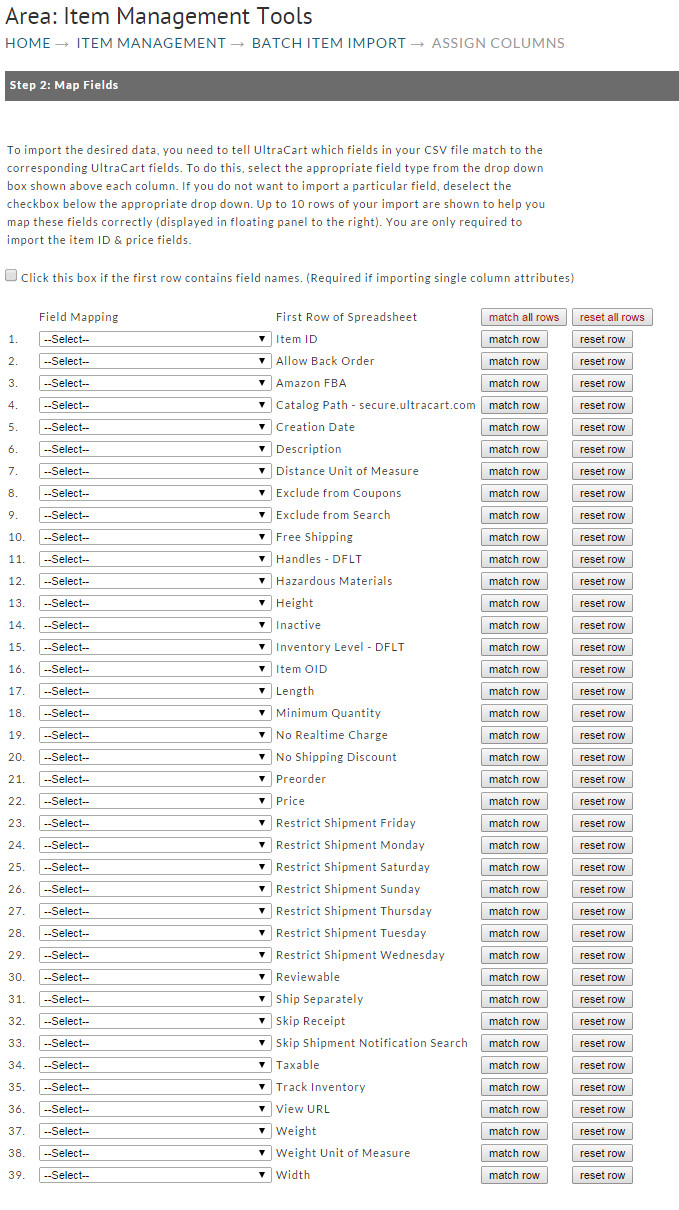
Step 2: Field Mapping
The order of the data fields in your file is not critical since the import wizard provides field mapping to match your field order with UltraCart. Placing the field headings in the first record (row) of your file will make it easier to map the fields when you reach that stage in the wizard. Although helpful, this is optional. The wizard will prompt you to indicate if the field headings exist or not.
Note Regarding Field Matching
Unmatched import fields
PLEASE NOTE: The Batch Item Export will contain some fields that are not importable. These fields will not be matched to an import field, so you can ignore them or remove them from the import file all together:
- Creation Date
- Has Multimedia
- Inventory Level (Allocate to Carts)
- Inventory Level (Allocate to Orders)
- Inventory Level (Available to Allocate)
- Item OID
- Multimedia Height 01
- Multimedia Width 01
- Skip Shipment Notification
- Search ("Exclude from Search")
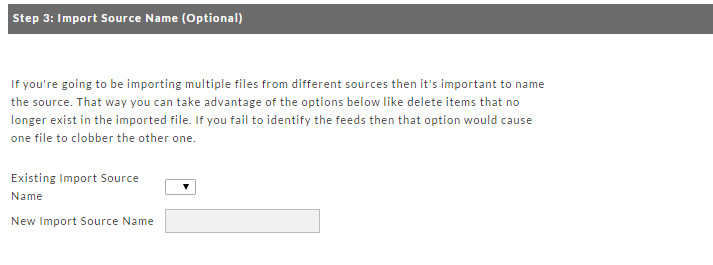
Step 3: Import Source Name (Optional)
If you're going to be importing multiple files from different sources then it's important to name the source.
Step 4: Options
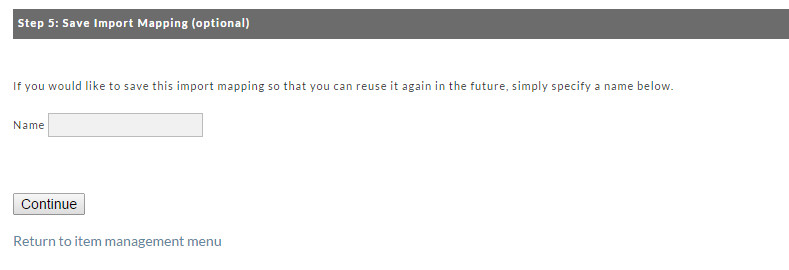
Step 5: Save Import Mapping (Optional)
This will allow you to save this import mapping so that you can reuse it again in the future.


