Store Wide Item Options
- Perry Tew
- Chris Torigian
Overview
Often merchants have an option (such as Color) that applies to a large set of their inventory. To keep from having to define the same option repeatedly for each item, UltraCart supports the concept of store wide item options. Merchants define the option and associate it with multiple items.
Editing the option will affect all the items that have been given the option.
To create a new storewide option, navigate to:
Main Menu → Configuration → Items → Store Wide Item Options
Configuration
After clicking on Store Wide Item Options, you will be taken to the Store Wide Item Options screen.
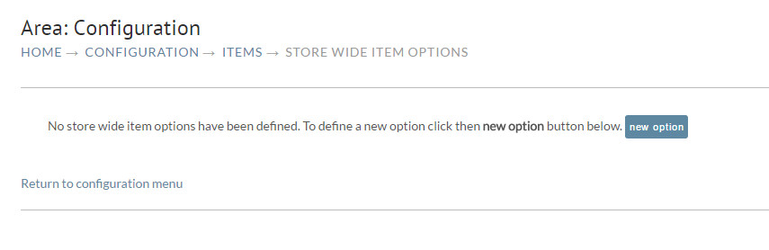
To create your first Store Wide Item Option, click on the "New Option" button. You'll then be taken to the Option Editor screen, this is the same screen you will see if you are setting up individual item options.
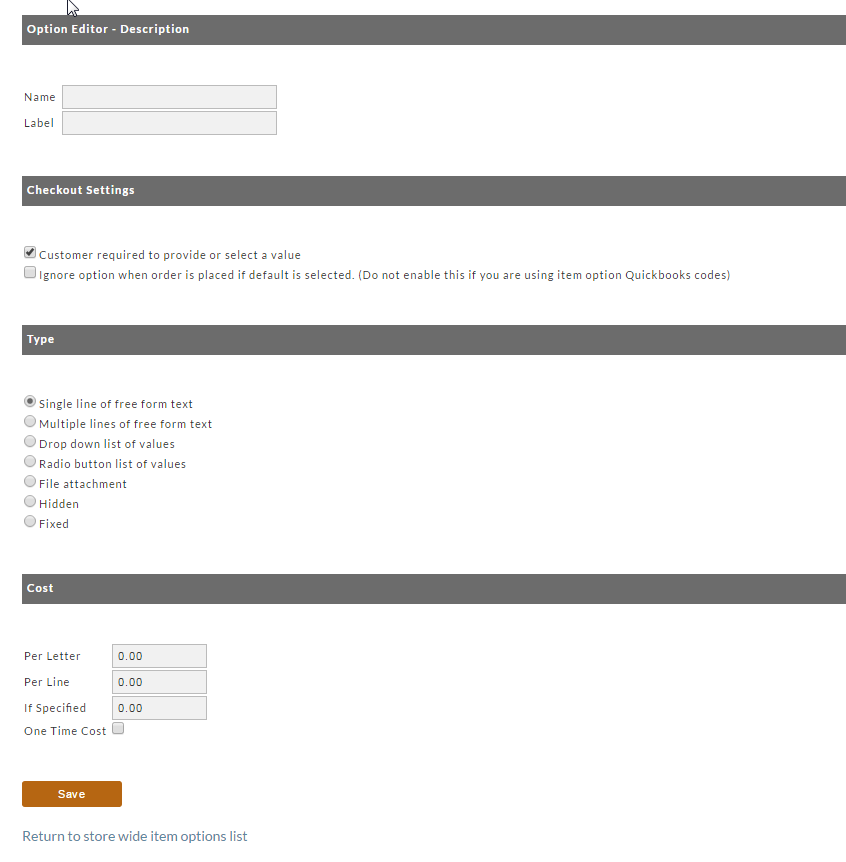
The settings for storewide options are identical to item specific options. For instructions on how to complete this screen, see Item Options page.
Once you've created a Store Wide Item Option, click on the "Save" button. You will be returned to the Store Wide Item Options screen where you newly created option(s) will appear.
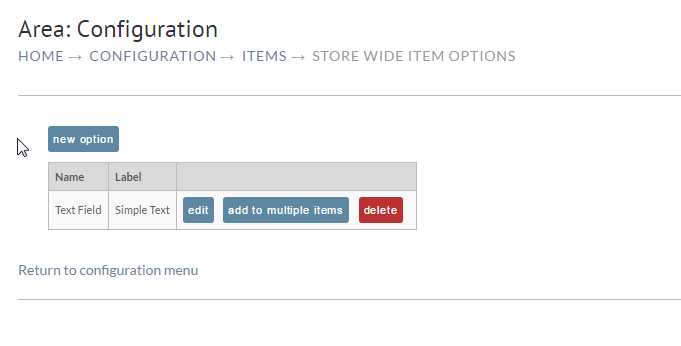
Add to Multiple Items
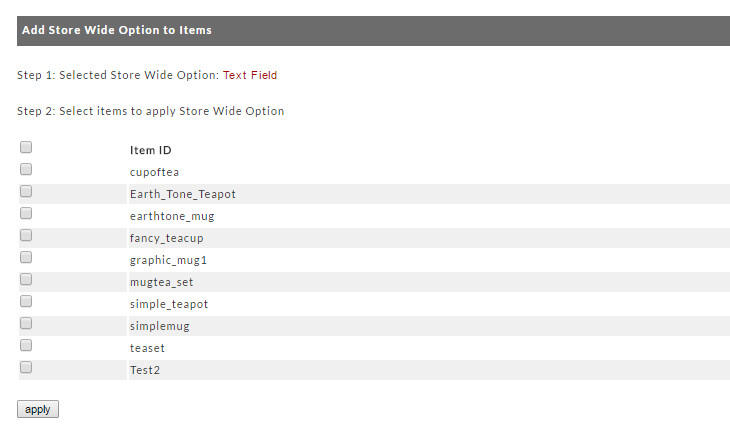
Click the check boxes to the left of the Item ID desired. A checkbox is provided at the top of the list to "select all". Click the "apply" button when finished selecting your items to associate the option with each of the items. You will be returned to the previous screen.
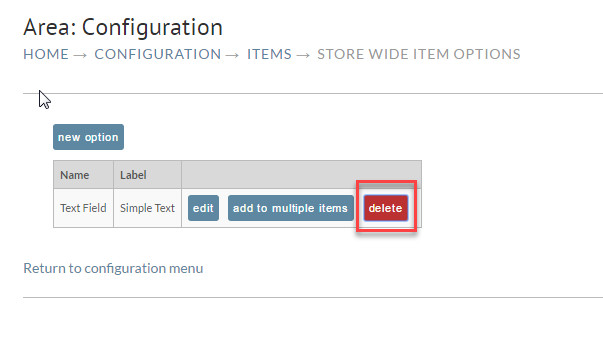
To delete a storewide option, click the "delete" to the right of the option and then click OK to confirm. Deleting a store wide option will remove it from all the associated items.