Overview
This document will detail the steps for adding images to a page in your storefront.
Steps
- Here are the steps for adding images to a page in your store:
- Navigate to the file manager and upload the image you are adding to the page:
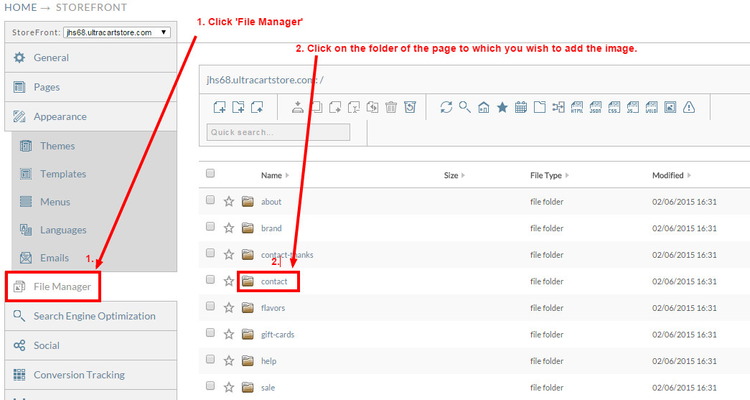
- Next, browse your computer to select and then drag and drop the file into the folder for the page:

- Next, either browse your computer or select from windows explorer and drag-and-drop into the file upload dialog window:
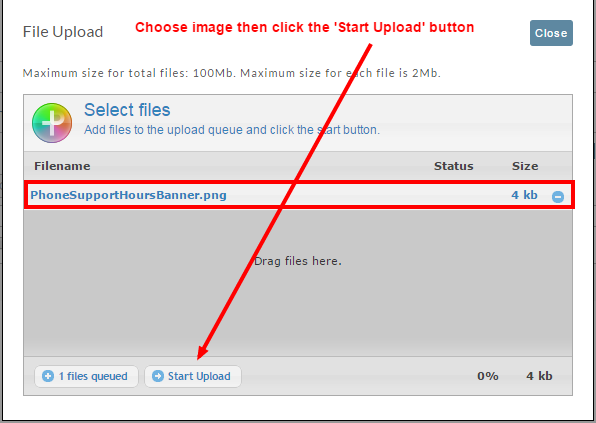
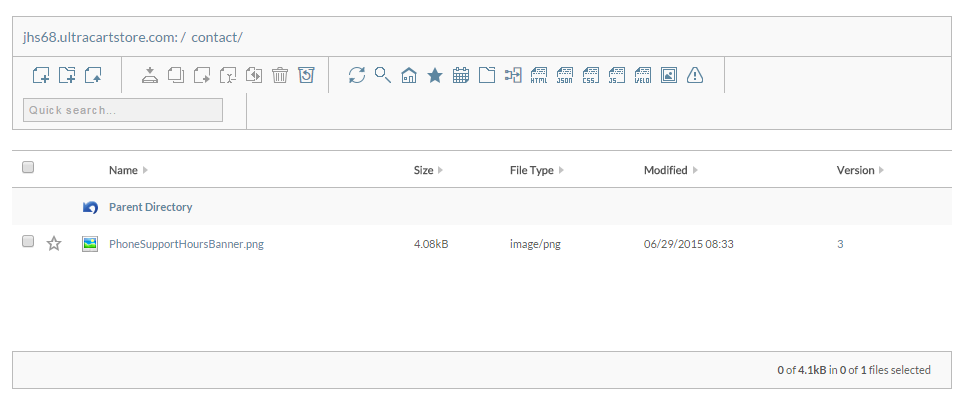
- After uploading the file you'll see it appear in the file manager like this:
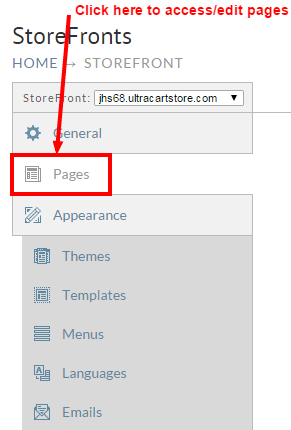
- Now that the image is uploaded into the page folder, select the page to which you wish to add additional images from the "pages" menu:
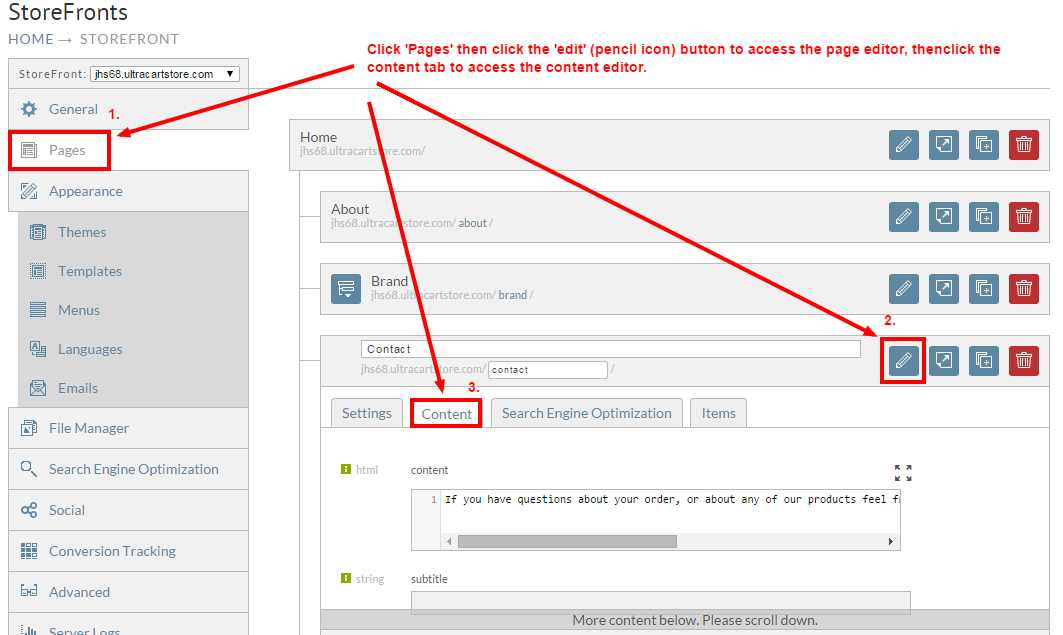
- You'll insert the image into the page by placing an img tag into the content editor:

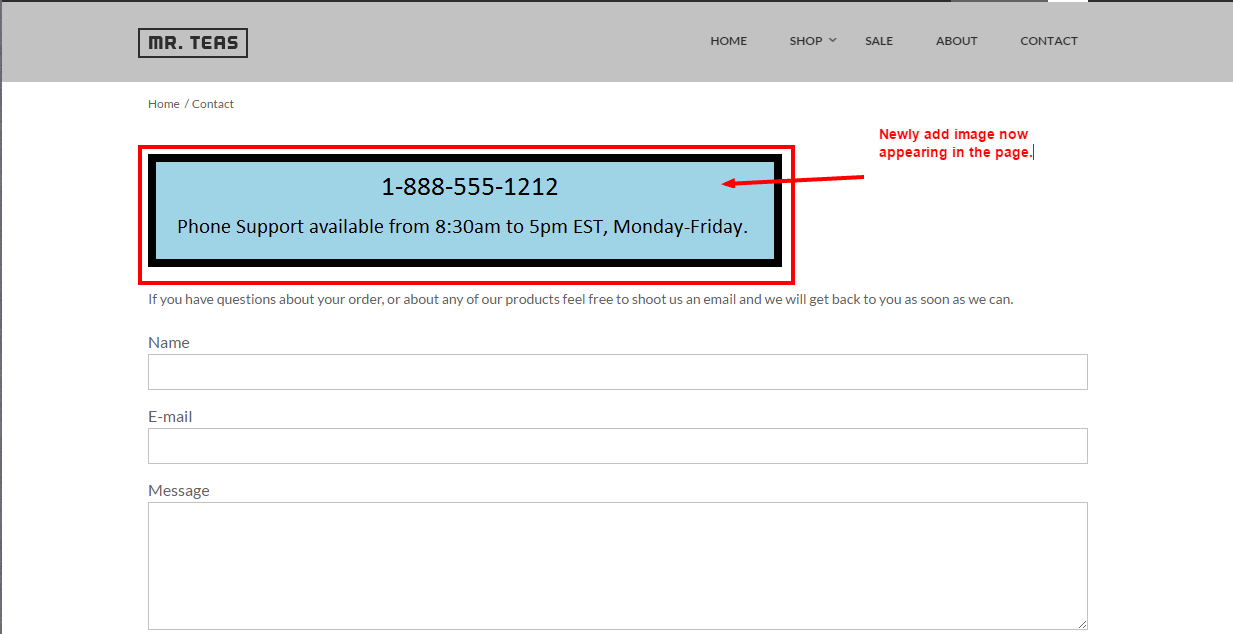
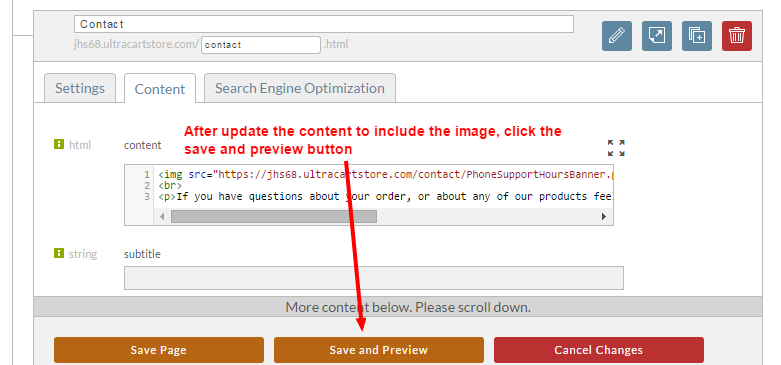
- After updating the content to include the image tag for the image, click the save and preview button to view the changes:
- The updated page preview after saving: