| Table of Contents |
|---|
...
Once you've entered your values (up to 10), click on the "Save" button and you will be returned to the Order Editor screen. If you have more than ten values to enter, click on the "ADD" button. Values that you've added will appear on the Option Editor Screen and the look of this section will have changed.
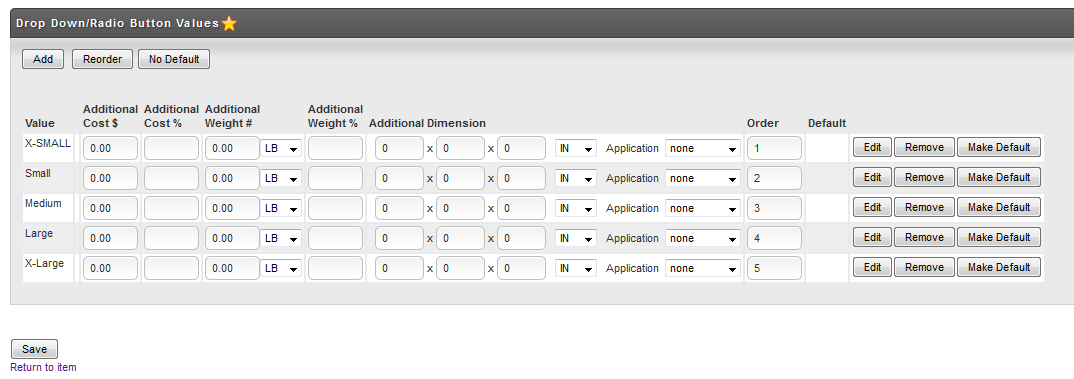
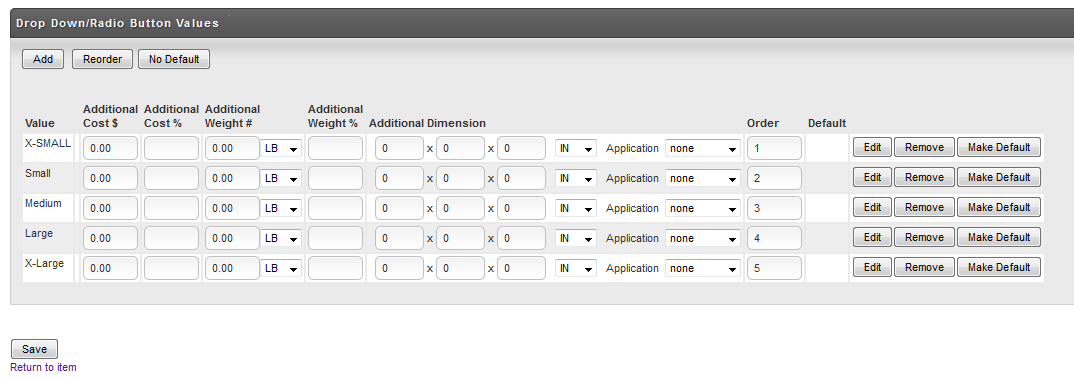
The new columns and buttons that now appear are explained below.
...
You can also associate digital content with the Radio Button Value List (only). For instance you might offer an option for digital delivery for an picture to go along with the item. This would give the customer the option of purchasing the picture (which requires shipping costs) or digital delivery download (no shipping). Two Radio Button Values would be set as Safety Office and Safety Office 2. If the customer selects the Safety value for the option then it would associate a picture with the item and reduce the weight to zero (so UltraCart will not calculate shipping costs).
After creating the Item, we create the Item Option called Delivery Method with two values; Safety Office and Safety Office 2. They would appear as follows in the Option Editor.
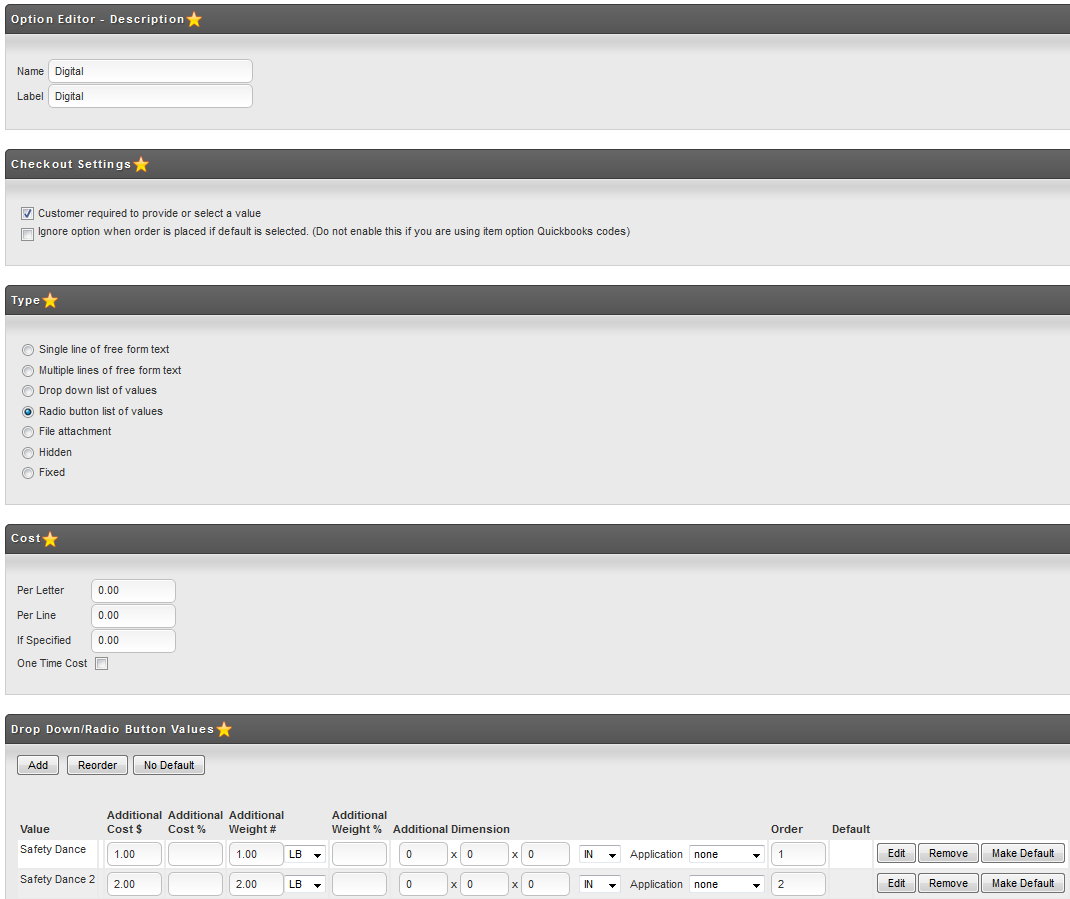
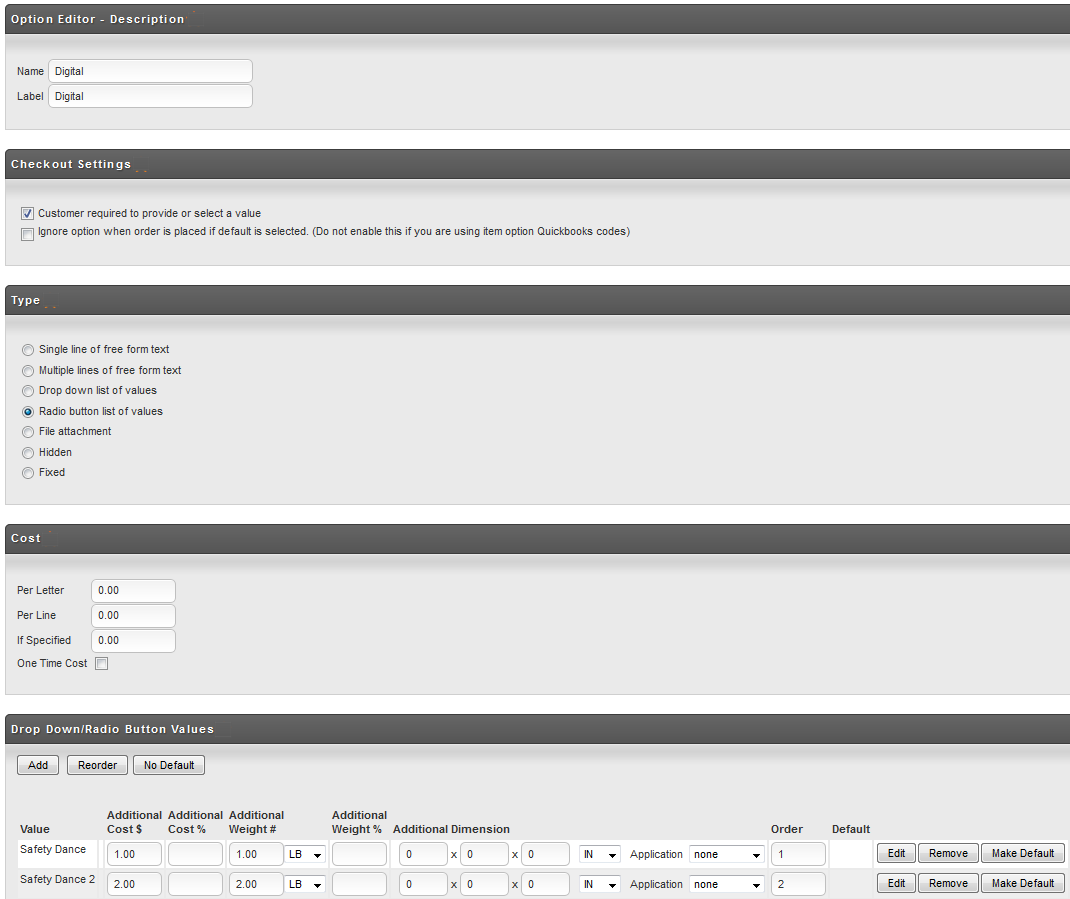
Figure 251 - Delivery Method options
To associate Digital Content click on the "Edit" button for the Radio Button Value desired. In this case it would be the Digital Download Value.
...
Once you have successfully created options, they will be listed under the options tab.
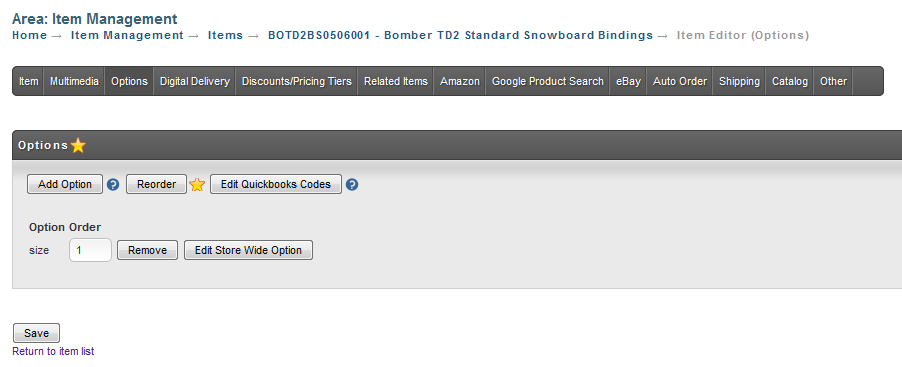
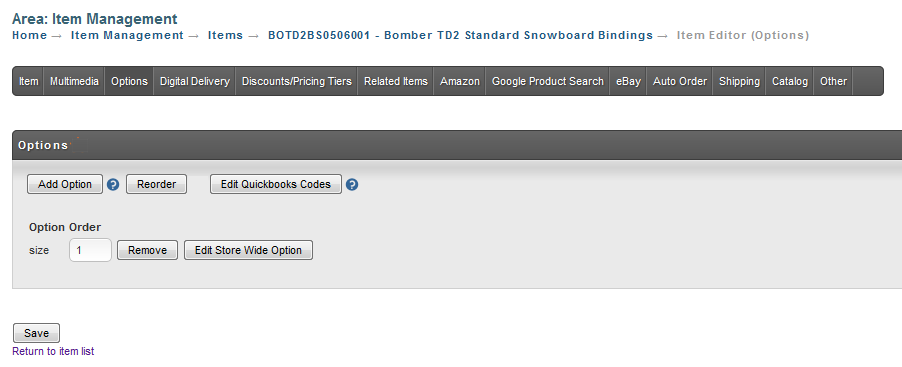
There are three buttons above the listings; Add Option, Reorder and Edit QuickBooks™ Codes.
Add Options – Click the "Add Option" button to add a new option for this Item.
Reorder – this simply rearranges the order the options are listed during checkout. Change the numbers to the order you want them to appear in the "Order" column. Click the "reorder" button when finished. The list will be rearranged into the order you have specified.
Edit QuickBooks™ Codes – Using options can make it convenient for a customer to select variations for an item but causes some issues when it comes to accounting since each item has its own accounting code. For instance, you might offer a Blue T-shirt that comes in small, medium, large, and x-large. The QuickBooks™ code for the Item might be BLUESHIRT. However, the codes might have been configured in QuickBooks™ for all the variations as; BLUESHIRT-S, BLUESHIRT-M, BLUESHIRT-L, and BLUESHIRT-XL. This screen allows you to assign the QuickBooks™ code to each unique item option. Enter the code desired and click the "Save" button. Repeat these steps for each Option.
...
Notice that we have four options for size when the black color is selected, but only three options for size when the blue color is selected. Variations support the concept of not every single combination being possible. The select boxes will update on the fly as the customer chooses options so that there is never an invalid combination of selections that the customer can make.
Troubleshooting
Things to look for if the form is not populating the drop-down menu for the item variations:
- Make sure at least one item is configured with inventory in stock or the enable inventory tracking turned off. Otherwise, the javascript that is creating the array of the variations will return a null value.
- When testing the variation code is being tested in a local HTML page prior to being publish to your live website, the javascript tagsa below the form code will need to be edited to add the "http:" prefix to the script src URL's.
...