Campaigns
- Perry Tew
- Jonathan Tew
- Chris Torigian
Navigation
Operations → Marketing → Email Campaign
Overview
An e-mail campaign allows you to send a message to one or more email list you have created. You may optionally include previously created coupons in the email. Once a campaign has been created and activated, you can monitor its status, view information regarding opens and clicks, as well as view other statistical data regarding the campaign.
At the first screen you will be greeted with UltraCart's Marketing Agreement. Before you create an Email Campaign you must read and agree (accept) the terms and conditions. The terms and agreement section is a scrollable window. Scroll down to view the entire agreement. Click the "I Accept" button if you agree.

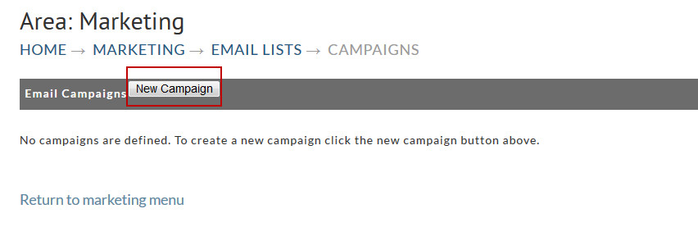
Once you've accepted the agreement, you'll be taken to the Campaign screen where you'll see the familiar "No campaigns are defined" message. To create a new campaign, click on the "New Campaign" button.

Creating a new campaign
Overview
To create a new campaign, click on the New Campaign button. You will then be taken to the first screen of the campaign wizard.
Campaign Wizard Step 1
First, you should enter a name for the campaign in the Campaign Name field. Next, select the lists you want to target with this campaign by clicking on the list name in the left box (Available Lists), then pressing the green arrow to move it to the right box (Targeted Lists). You may select as many lists to target as you wish, though you must select at least one list to target. The system will automatically remove any duplicate addresses that appear in multiple lists.
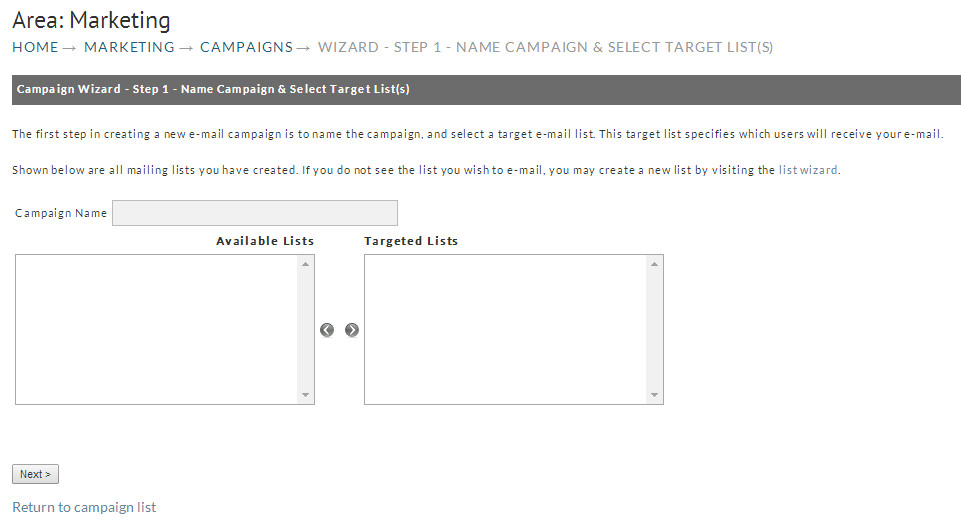
When you have selected the lists you wish to target, press the Continue button. You will then be shown step 2 of the campaign wizard.
Campaign Wizard Step 2
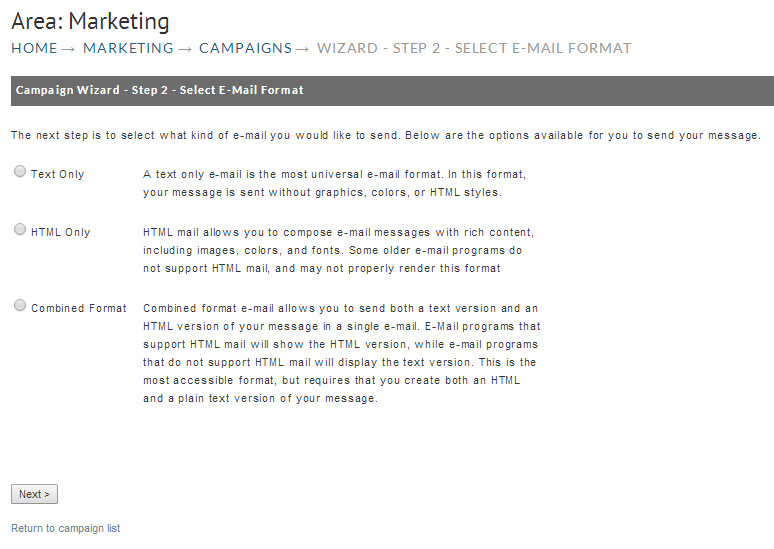
Step 2 allows you to specify the e-mail format. UltraCart supports 3 distinct types of e-mail message formats, described below
Text Only | A text only e-mail is the most universal e-mail format. In this format, your message is sent without graphics, colors, or HTML styles. |
HTML Only | An HTML only e-mail allows you to compose e-mail messages with rich content, including images, colors, and fonts. Some older e-mail programs do not support HTML mail, and may not properly render this format |
Combined Format | Combined format e-mail allows you to send both a text version and an HTML version of your message in a single e-mail. E-Mail programs that support HTML mail will show the HTML version, while e-mail programs that do not support HTML mail will display the text version. This is the most accessible format, but requires that you create both an HTML and a plain text version of your message |
Click on the radio button next to the message format you wish to send, and press the Continue button. You will then be taken to step 3 of the campaign wizard.
The 3rd step (screen) will be customized to the type of e-mail message you have selected.
Special Tags
| Tag | Description |
|---|---|
| Name inserted will be the billing name in the order in which the customer was subscribed into the mailing list. (*If a manually imported order, it will insert the email address.) |
| Inserts coupon based on the code of the coupon referenced after the = sign. |


Campaign Wizard Step 3 - Text Only
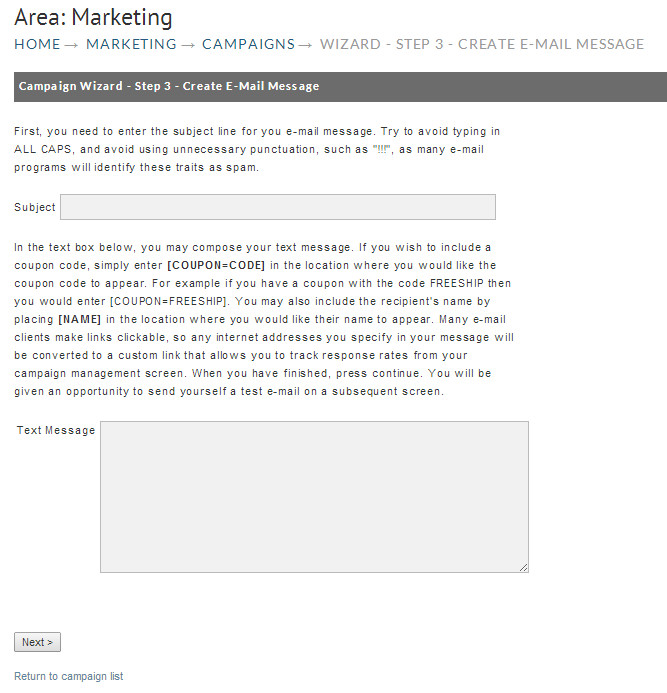
First, you will need to enter a subject for your e-mail message. It is recommended that you keep your subject 72 characters or less. Next, enter the desired body text for your e-mail message. Enter the message just as you would in a word processor, only pressing Enter at the end of each paragraph. It is recommended that you include each internet link on its own line, as some e-mail clients will not properly process links that are surrounded by text. When you are satisfied with your message, press the Continue button to proceed to step 4.
Campaign Wizard Step 3 - HTML Only
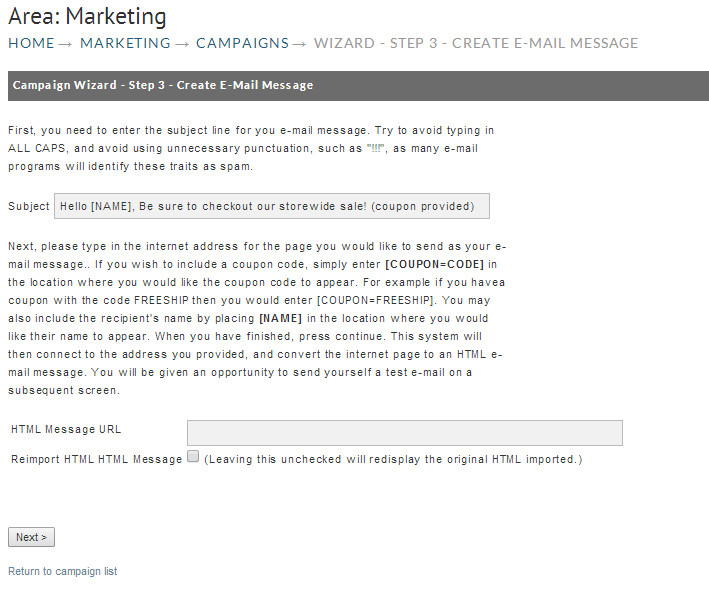
Above shows step 3 for HTML only messages. First, you will need to enter a subject for your e-mail message. It is recommended that you keep your subject 72 characters or less. Next, you will need to enter the full URL of the page you wish to send as your e-mail message. Be sure to include the "http://" part of the address as well.
- E-Mail clients will often refuse to show e-mail messages that contain plug-ins or JavaScript. Therefore, UltraCart will remove these elements from your message automatically.
Campaign Wizard Step 3 - Combined Text and HTML

Please refer to the previous sections for instructions on how to properly complete this form. When you have completed the form, press Next to proceed to Step 4.
Campaign Wizard Step 4 - Preview Message
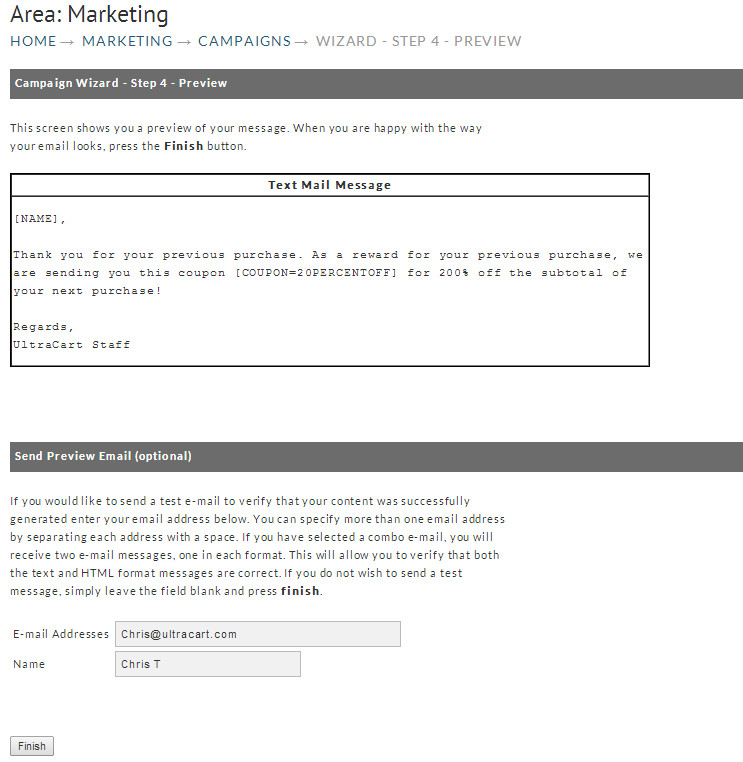
The above image shows the preview of the configured message copy. The special tokens NAME & COUPON (entered with the square baces as shown above) will be converted in the actual outgoing messages with the customers name and the unique single use coupon code* (the single use code is generated when the coupon is configured using the "Usable By = Email Campaign").
Step 4 allows you to preview your message content, and if you have included a coupon in your messages, allows you to select them as well. The step 4 screen will be customized to reflect the e-mail message type.
The following Figure shows a sample step 4 page for a combined format e-mail message. 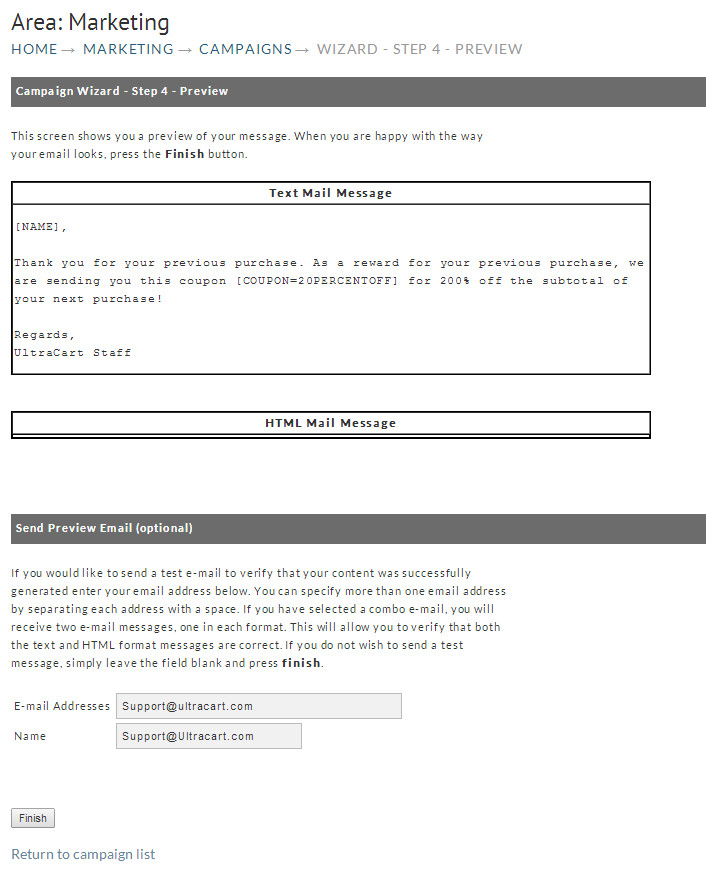
Campaign Wizard Step 4 Sample
As you see, UltraCart replaces each instance of [COUPON] with a drop-down list of the coupons you have configured. Select the desired coupon in each drop-down, and press Continue to proceed. If you would like to make any changes, press the Back button on your browser, make the necessary corrections, and press Continue. If your e-mail messages do not include a coupon, simply press Continue after you have completed previewing your message.
- If a coupon is created with the Generic flag unchecked, UltraCart will create a unique coupon code for each e-mail that corresponds to the code selected. This prevents coupon abuse by creating one-time-use versions of each coupon selected.
If you wish to further personalize the e-mails you send, you may include the recipient's name by entering [NAME] in the text or HTML where you would like their name to appear. It is only recommended you utilize the Name field on rules based lists or imported lists, as you may not have every proper name in other lists types.
The following figure shows the screen for step 5. In this step, you can enter up to 5 e-mail addresses you wish to receive copies of the campaign message as a test. This allows you to see what the message will look like in an e-mail client, as well as verify that all links work, etc.
To enter multiple e-mail addresses, simply separate each address with a space. Be sure to specify the full e-mail address in "user@domain.com" format. When you have entered all of the desired recipient e-mail addresses, press Continue to send the test messages and complete the creation of your new campaign. If you do not wish to send test messages, simply leave the field blank and press Continue.
Campaign Wizard Complete Screen
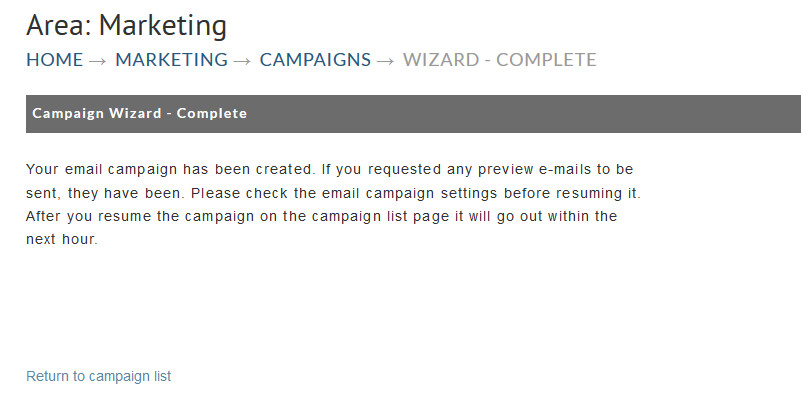
Once your test messages have been sent, you will be shown the wizard completion screen. Your campaign has now been created but is in the "suspended" state. Please visit the campaign manager, check the settings of your campaign, and press the Resume button to start your campaign. Campaigns may take as long as 1 hour to process before being sent.
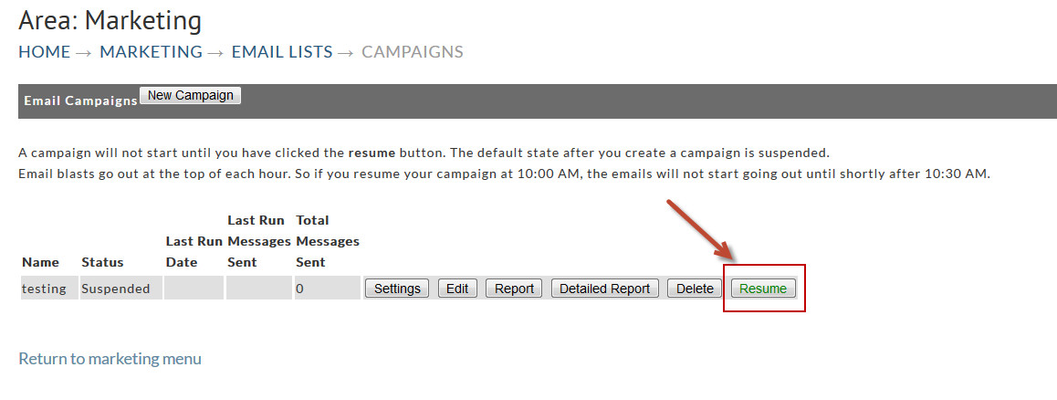
Campaign Manager with sample campaign
The wizard creates each campaign with a set of default settings. To view and modify those settings, click on the Settings button next to the campaign you wish to view.
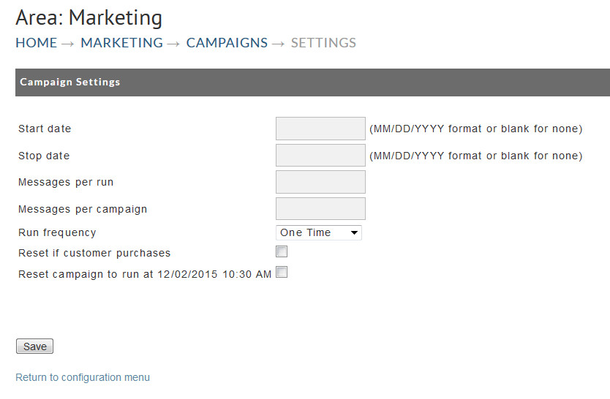
Campaign Settings Screen
The campaign settings screen allows you to modify a variety of properties relating to the campaign. These properties are described in the table below.
Start Date | If this field is populated, the specified campaign will not begin running until the date specified. If you want the campaign to start immediately, leave this field blank. |
Stop Date | If this field is populated, the specified campaign will end on the date specified. If you want the campaign to run continuously, leave this field blank. |
Messages per run | This field allows you to specify the maximum number of messages to send each time the campaign is run. This allows you to better manage your throughput for special offers that may increase staff workloads. If you do not want to specify a limit, leave this field blank. |
Messages per campaign | This field allows you to specify the maximum number of messages to be sent for this campaign. This allows you to better budget your marketing expenses by insuring that you will not exceed a preset number of e-mail messages. |
Run Frequency | This field allows you to specify how often the campaign will run. By default, each campaign will only run one time. |
Reset if customer purchases | By default, a customer will only receive one message per campaign. Checking this field allows you to specify that a customer is eligible to receive another e-mail from this campaign in the event that they make a purchase. |
When you have completed your adjustments to your campaign settings, click on the "Submit" button to save your changes.
Campaign Reports
The campaign report screen allows you to view the statistics of a particular campaign. To view the report for a campaign, press the Report button next to the campaign name you wish to view.
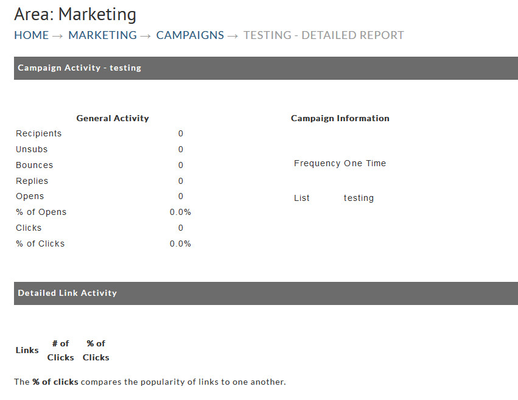
The Detailed Campaign Activity Report allows you to view a variety of statistics regarding your campaign.
Only HTML or combination format messages will report message opens. If you create a text only message, message opens will only be registered when links are clicked on by recipients. This may result in deceptively low message open counts.
Deleting a Campaign
To delete a campaign, press the Delete button next to the name of the campaign you wish you delete.
