UltraCart has released a number of powerful themes:
- Coffee
- Craft
- Fashion
- Gridzy
- Mr Teas
- Natural
- Woodland
All of these themes pre-date the Visual Builder. You may have built a site (or checkout) based upon one of these themes. There is no need to discard all of the hard work that you've put into making your great site just because you want to start using the Visual Builder. It's really easy to plugin in the Visual Builder to the existing theme. We're going to cover four topics in this tutorial.
- Adding the required CSS/JavaScript to the existing theme template.
- Creating a folder on the file system to hold our containers (containers hold the content created by the Visual Builder).
- Creating a container on the file system.
- Including the container in the template.
Adding the required CSS/JavaScript to the existing theme template.
After navigating to your StoreFront, click on Templates then Misc as shown below.
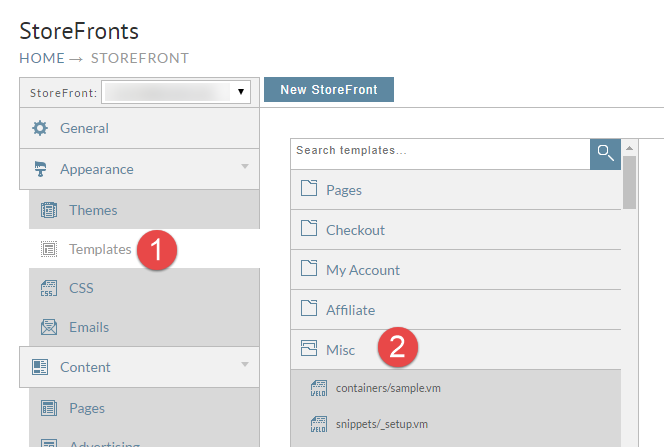
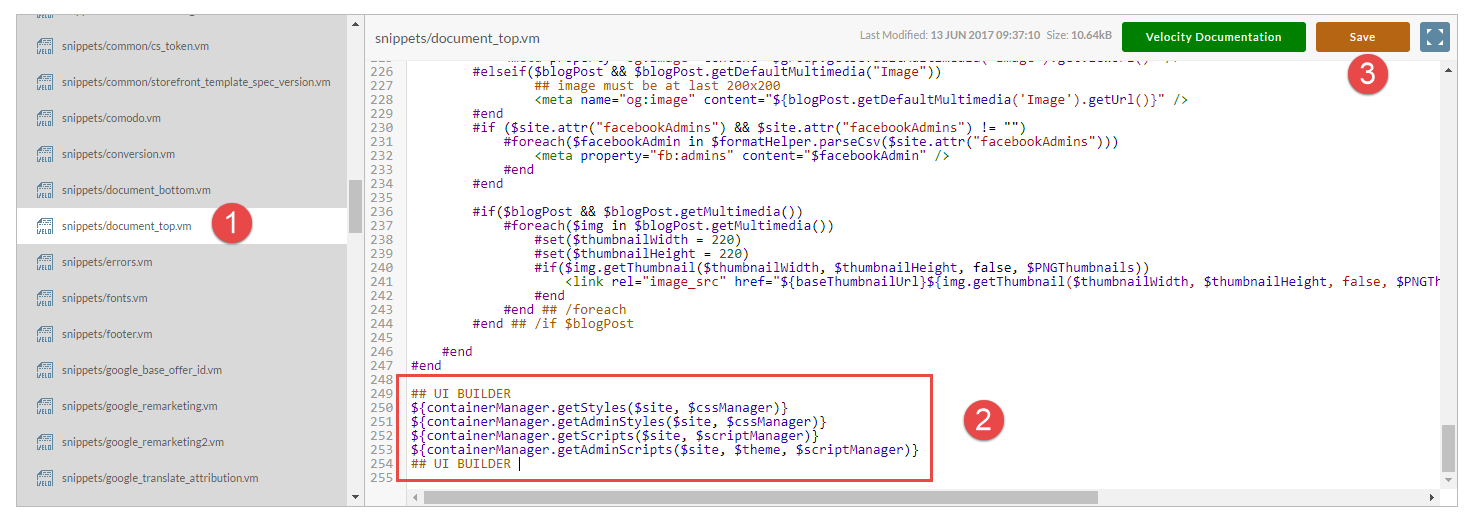
Scroll down until you see "snippets/document_top.vm". Click on it. At the bottom of the file page in the following six lines of code:
## UI BUILDER
${containerManager.getStyles($site, $cssManager)}
${containerManager.getAdminStyles($site, $cssManager)}
${containerManager.getScripts($site, $scriptManager)}
${containerManager.getAdminScripts($site, $theme, $scriptManager)}
## UI BUILDER
Now click save as shown below.
Creating a folder on the file system to hold our containers
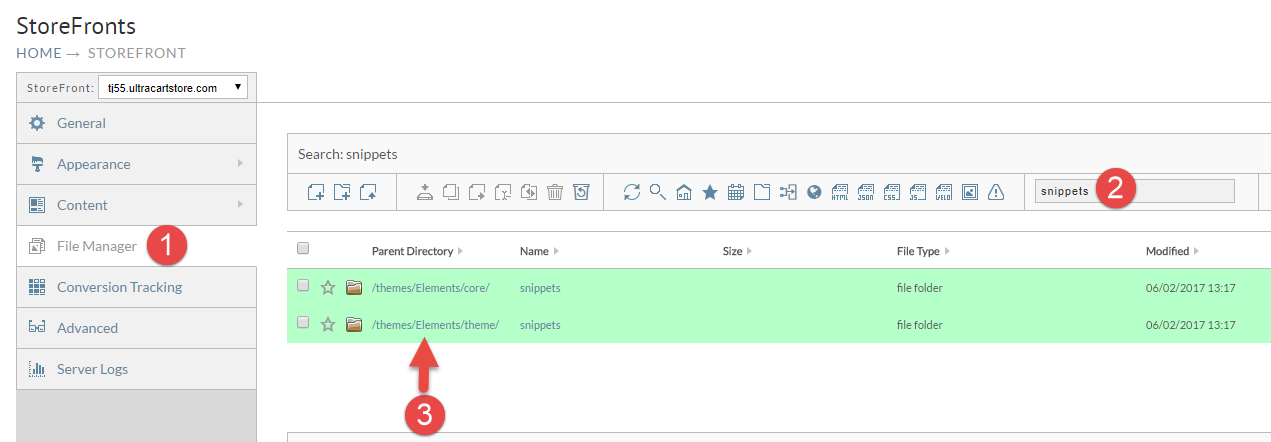
Now click on the File Manager, enter "snippets" into the quick Search and then click on the directory of the snippets folder as shown below. Make sure you get the one highlighted in green that ends with /theme/ and NOT /core/ (If you're using the Mr Teas theme there will be only one snippets folder listed).
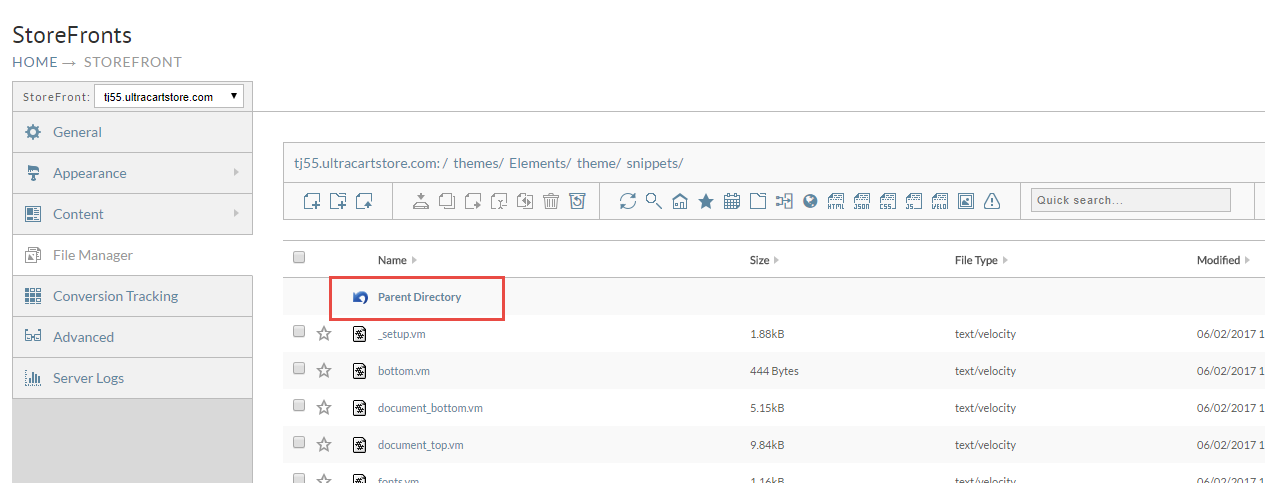
Now click on the Parent Directory link as shown below.
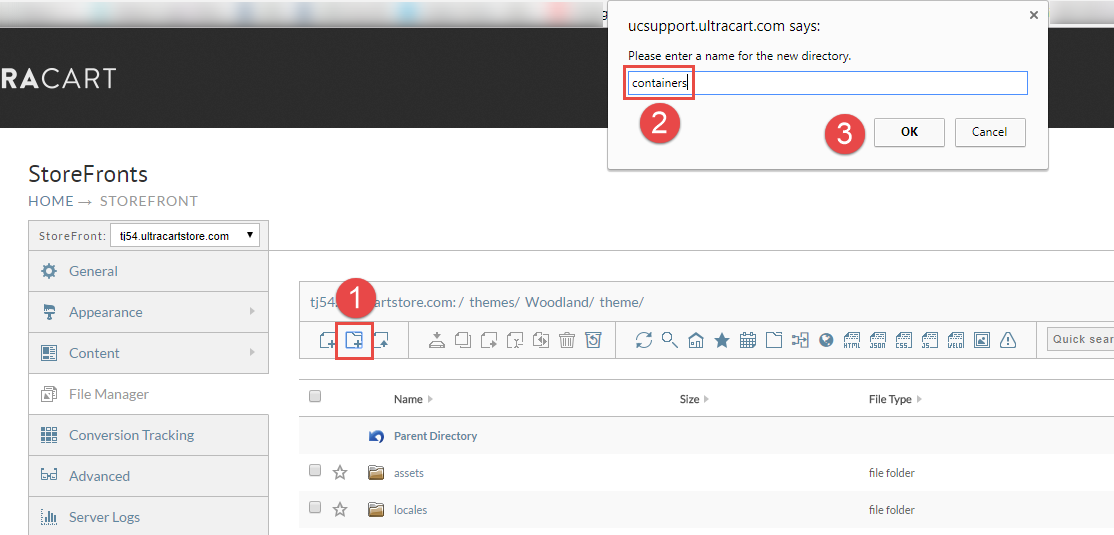
Click on the new folder button, enter "containers" for the name and then click OK as shown below.
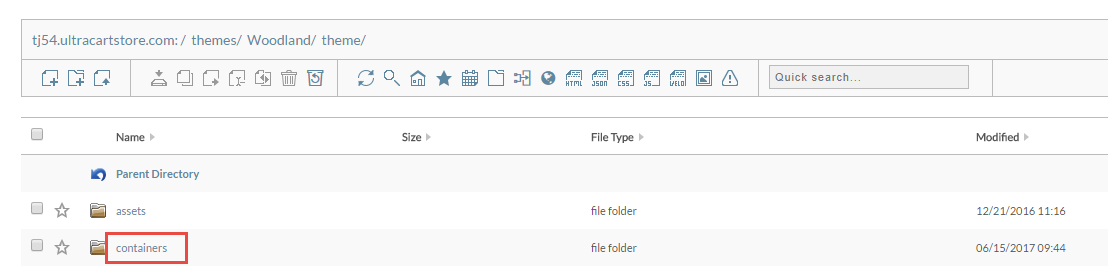
Now click into the containers that that we just created.
Creating a container on the file system
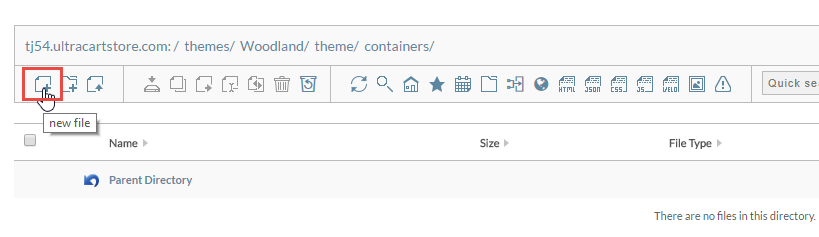
Click the new file toolbar icon as shown below.
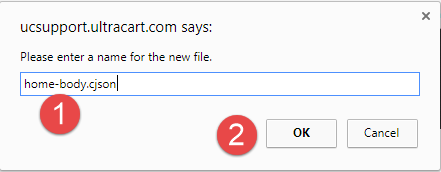
When prompted for the filename, use the name of the container and then make sure the extension is .cjson as shown below.
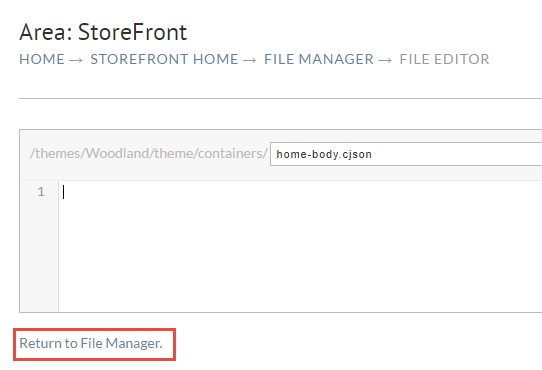
This will open up the new file in the editor. Leave the file blank. Just click the link at the bottom to return to the file manager as shown below.
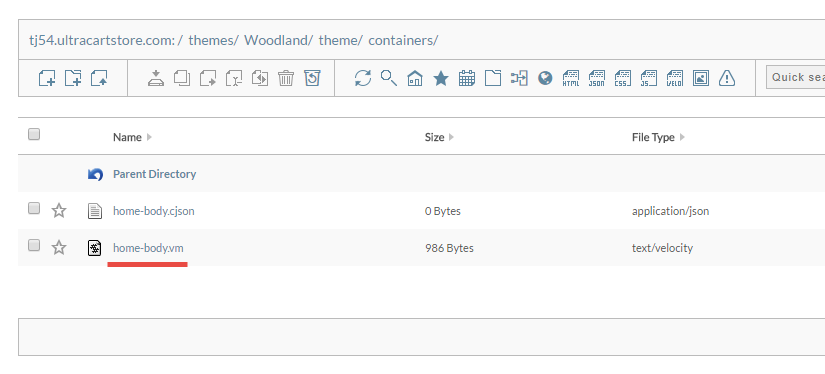
The system automatically compiles the .cjson file into the corresponding .vm file as shown below.
Including the container in the template
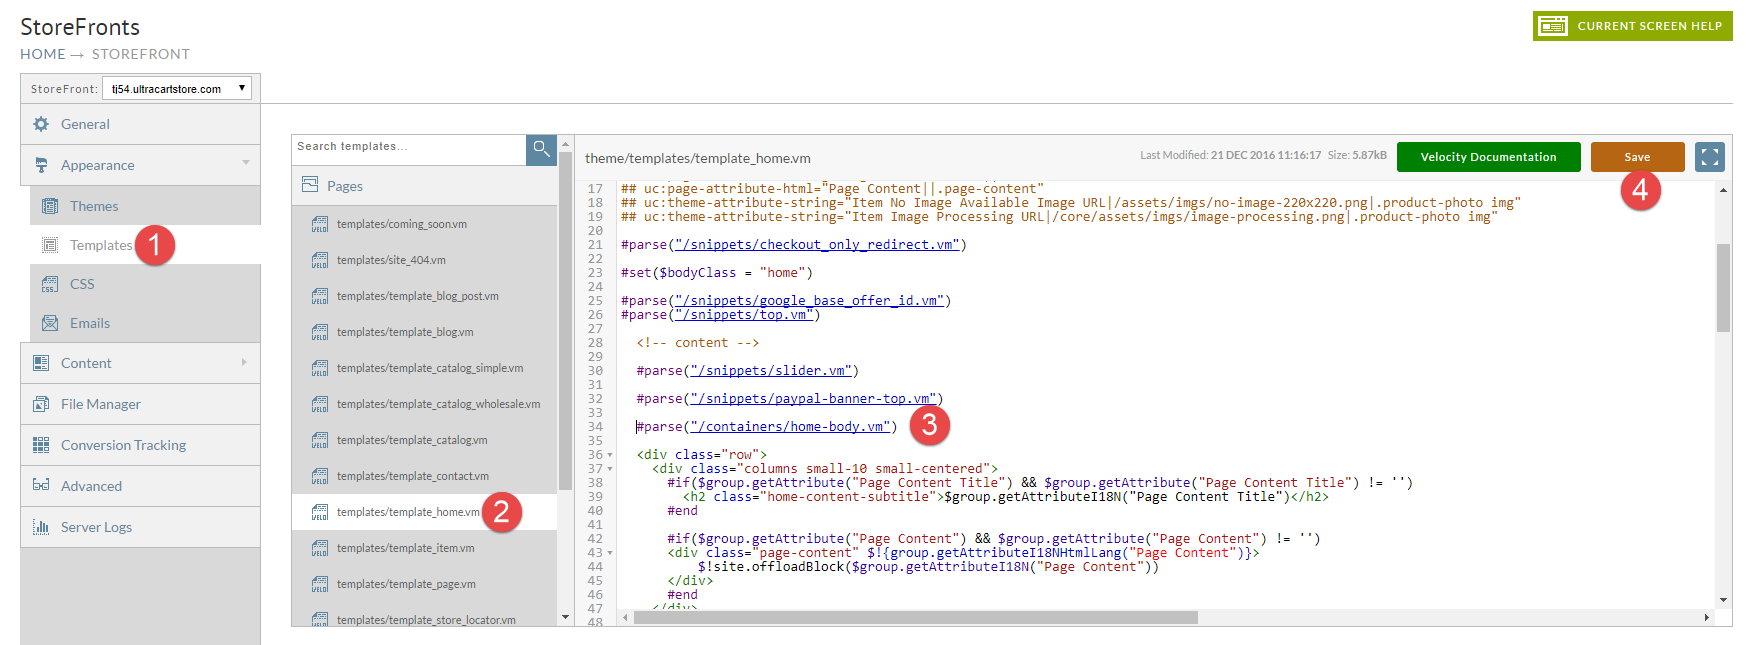
Now that we have a container created and the corresponding .vm file compiled, all we have to do is edit our main template and #parse in this container file. This is shown in the screenshot below. Go to the Templates section, locate the template you want to modify, add the #parse statement to the template and save.
You now have your first container stubbed out on your page. You can now engage the Visual Builder and create content within this container.