Introduction to Disqus
Disqus is a third party company that provides an embeddable comment system. UltraCart uses Disqus comments within the StoreFronts blogging system. Disqus is free to use (for the purpose of StoreFronts blogs) and easy to use. By following the instructions below, Disqus comments will automatically display below any blog post on your web site.
This entire process takes about 2 minutes.
Register for a Disqus account
Go to http://disqus.com
Click the Sign Up botton at the top right of the screen

Provide your name, email, and password

At the top right of the main screen, click the cog wheel and choose Add Disqus to Site.

Click Start Using Engage on the next screen.

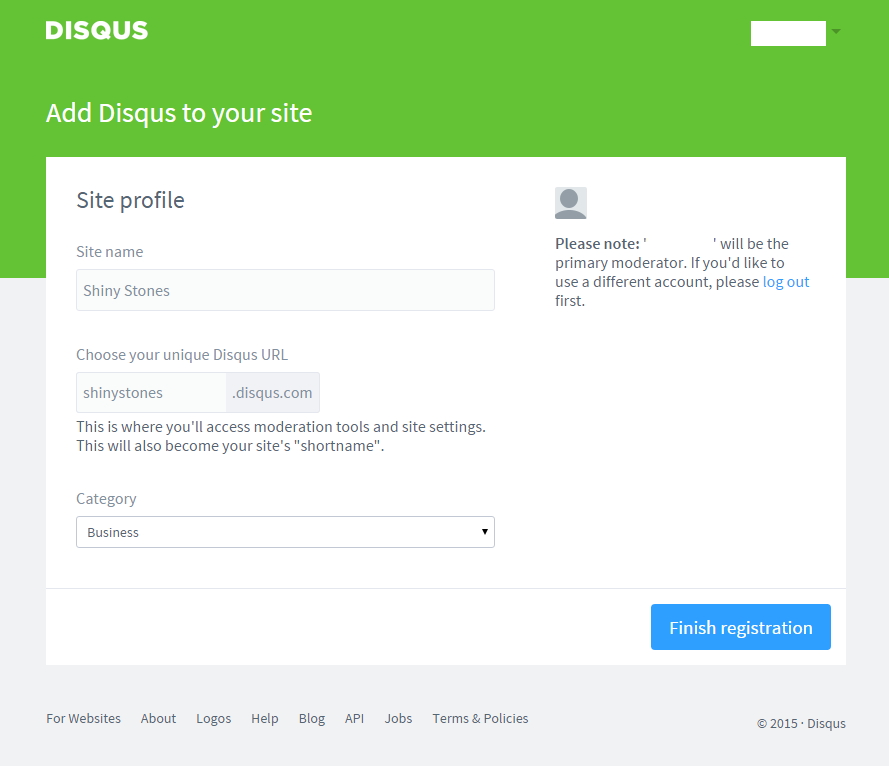
Choose a shortname
The Site name is important, so provide that, but the shortname is the critical component needed to tie your disqus account to your blogs.
Enter the shortname in the UltraCart back end
The shortname only needs to be entered once at the top level blog settings. It does not need to be added to every blog or blog post. Each post is identified uniquely to Disqus through provided code, so there is nothing to configure on a per-post basis. The unique identification is done based on an internal integer value, but also includes the blog post title, so managing the comments via the Disqus back end tools is easy to do.
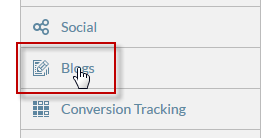
- Click on the Blogs tab
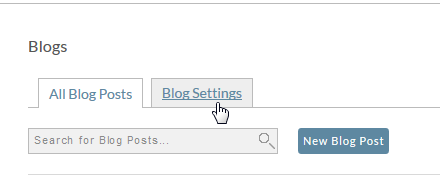
- Click on the Blog Settings tab
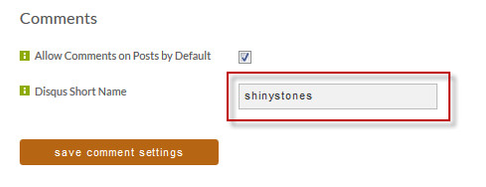
- Make sure the Allow Comments field is checked
- Enter the shortname
- Click save comment settings
Your blog is now comment enabled.
Managing Comments
Disqus has all the tools you need to manage comments. Login to their site to review, moderate, and manage your comments. https://disqus.com/home/settings/moderation/ contains settings for moderating your blog comments.