...
Your items will be listed in either Folders or Items/Kits
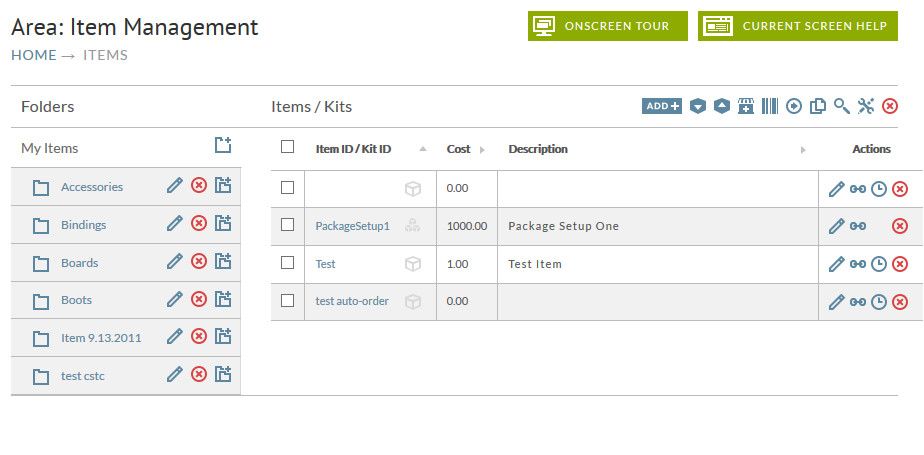
Items Section Screen
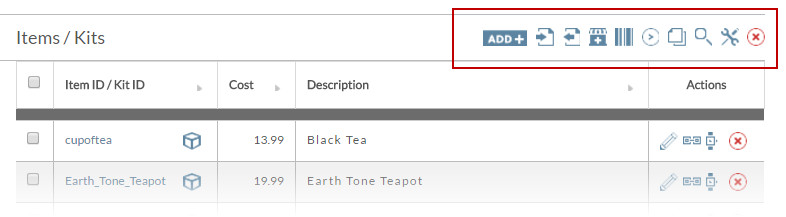
As shown in the above below screen shot, there are only 2 buttons available under the Items for Filling Cabinet section10 button icons available with Item Management. They are new and search. There is also a Quick Jump feature. This limitation only exists until you configure items. The Items for Filing Cabinet section will then display seven buttons along with the Quick Jump as shown below. Add+, Import Items, Export Items, Add StoreWide Option, Print Barcodes, Move, Copy, Search, Tools, and Delete. To use these tools you must select the items first by using the check boxes found next to each item. The only exception would be the Add+ icon which is used to add new folds, items, and Kits.
New Item
Click the "new" button to add a new store item. You will be taken to the Item Editor screen where you can enter all the attributes of your new item. At a minimum, you should fill in an Item ID, Description, Cost and Weight. All of the Item fields and Screen Tabs (options) are explained in the Item Editor Section. You may want to skip to the Item Editor section to create your first item if you didn't create items when completing the sign up wizard.
...
.
| Related Documentation |
|---|
| Add Folder, Item, Kits |
| Item Editor |
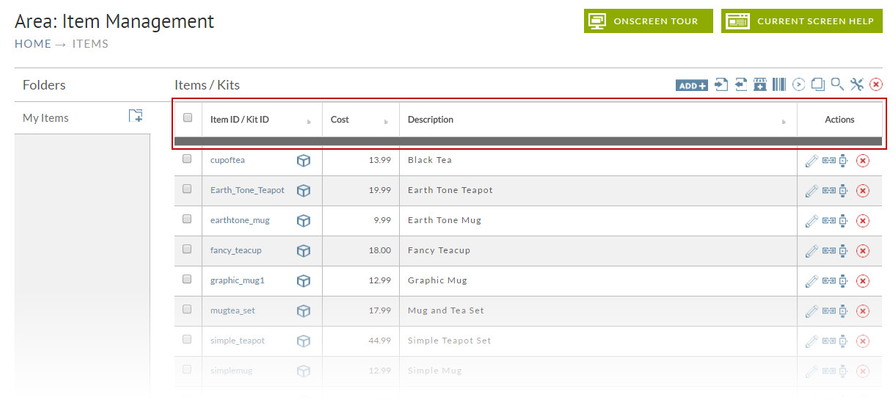
Item Listing
Store Items will be listed alphabetically under five four columns (highlighted in the red box in the following figure). They are; Item ID, Cost, LinksDescription, Inv. History and Description.Hopefully you have a few items already listed here that you created during the Sign-up processand Actions.
The Item ID, Description and Cost are entered by you when the item is created (explained later in the Item Editor section). The Links, and Inventory History are links that. The Action icons, when clicked, will take you to a new screen screens with the appropriate information. These will also be explained later. 
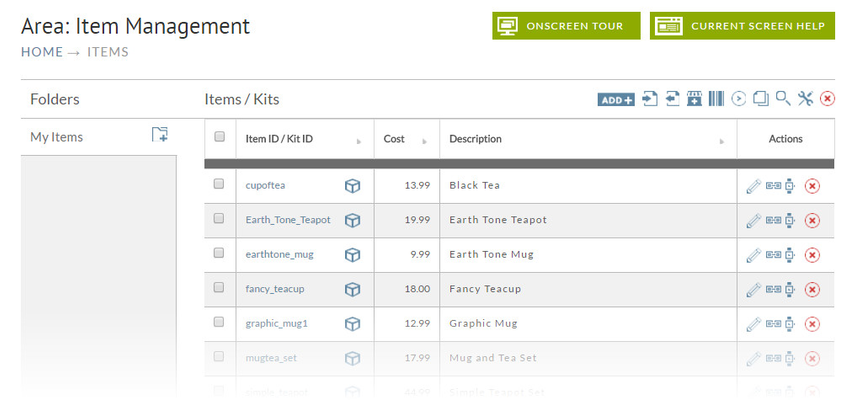
Items Screen (with items)
Moving Items
At times you may have the need to move your items from one folder to another. You can move multiple items at a time. First, navigate to the folder your items reside in. In In the items list, click the check box to the left of each item you wish to move and then click on the Move icon at the top of the page.  Once you have selected the item(s)
you want to move, click the "Move" button. The "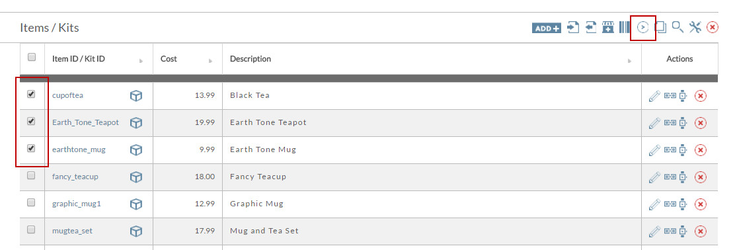
Next the "Item Move" screen will appear.
 Item Move screen
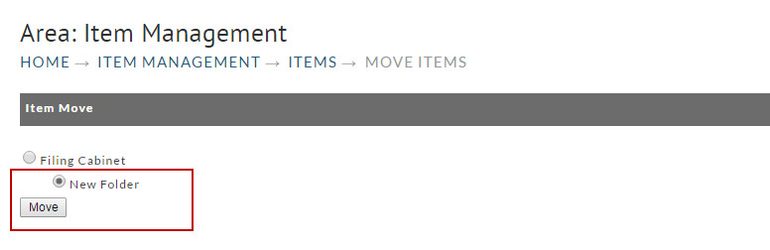
All your folders will be listed in this screen. Click the radio button to the left of the folder you want to MOVE your item(s) to (Control Parts folder New Folder in the above example). Then click on the "SubmitMove" button. You will be returned to the Item List.
...
To delete one or more items from your store, navigate to the folder the items reside in. Click the checkbox to the left of each item desired and then click the "Delete" button. Icon.
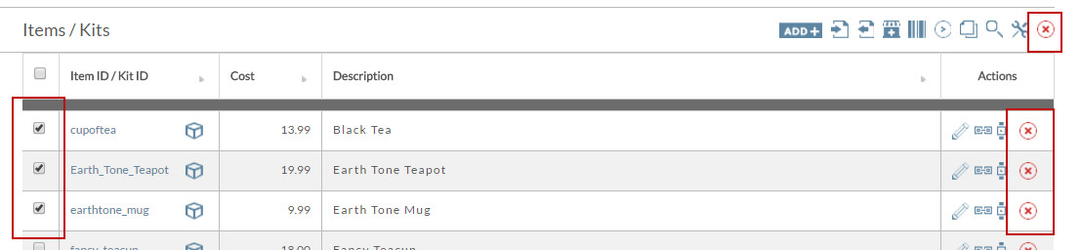
You can also delete items one at a time by using the Delete icon next to each item in the list.
You will be presented with the following confirmation dialog.
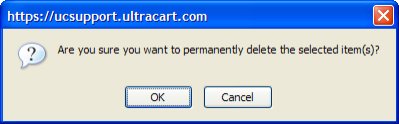
Make certain the warning dialog says "Item(s)" not "Folder". Click the "OK" button to delete the item(s) or the Cancel button to abort the process.
...