...
At this screen you basically will be creating a Gift Certificate code to give to the customer to use when they purchase your product. Some Merchants create pre-printed cards to write the code on before presenting them to the prospective customer.

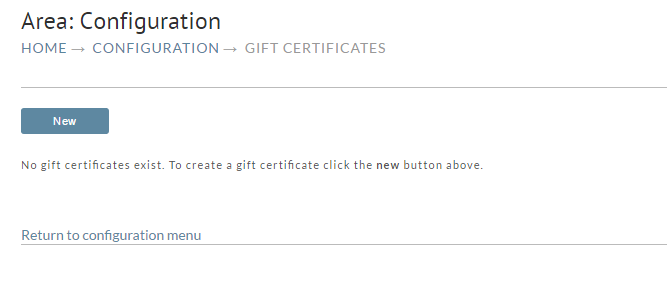
Any existing give certificate, either store item or on demand, will be listed on this screen. If there are no gifts certificates, you will be presented with the familiar "no gift certificates exist" notice. To create a gift certificate, click the "New" button. The New Gift Certificate screen will appear.
...
Field Name | Description |
|---|---|
Amount | This is the total amount that can be used on the gift certificate. |
Quantity | This is the number of certificates you would like to create at the set amount. |
Expiration (MM/DD/YYYY) | This is the date that the gift certificates will become unusable. |

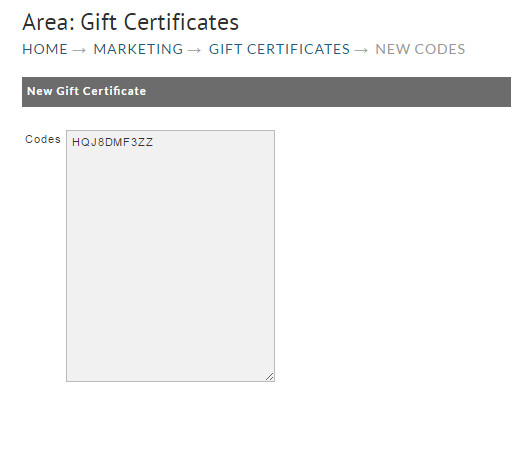
The New Gift Certificate screen shows the randomly generated codes in the exact quantity you specified. Although you can view and manage the certificates later within UltraCart, you should consider copying this list into a separate document so you can easily keep track of those you have issued to customers.
...
Click on the "New Item" link at the top of the screen. This will bring up the familiar Item Editor. Enter the Item ID (in this case we use Gift Certificate).Anchor
There are typically only 6 fields of major concern when creating your Gift Certificate Item. They are: Item ID, Description, Cost, Weight, Minimum Quantity, Gift Certificate, and Expiration. See Chapter 6, page , for more information on the Item Editor and creating items. The following is a sample Gift Certificate as it appears in the Item Editor.


The most important of these fields is the Cost field. This is where you determine and set the value of the Gift Certificate. For example, if you are selling a Gift Certificate on your store for $50.00, you simply enter 50.00 into the cost field for the Gift Certificate store item. The Weight field is only necessary where a merchant wants to send an actual Gift Certificate upon purchase. Specifying at least .25 lb. will cause the "shipping address" to be a required field at checkout which will insure that you obtain an address to deliver the certificate to.
...
The Gift Certificate screen will list the following data for each of your certificates: Code, Amount, Remaining (amount) and Expiration (date).

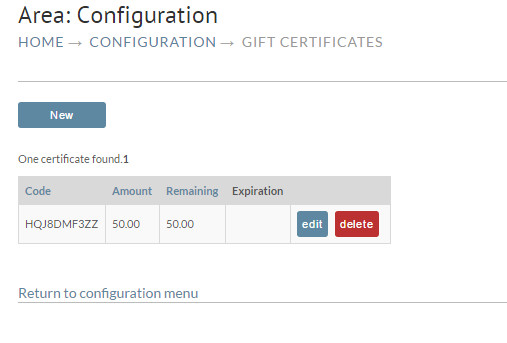
The Code field is the auto-generated code that was assigned when the certificate is purchased (store item method) or created (on demand method). The Amount field indicates the value of the Certificate. The Remaining field indicates the balance available (in the case where the customer purchased an item valued less than the value of the certificate). The Expiration field is the date that you initially set for the certificate to expire.
...
To make changes to the certificate, click on the "edit" button to the right of the listing. The Edit Gift Certificate screen will appear.

Field Name | Description |
|---|---|
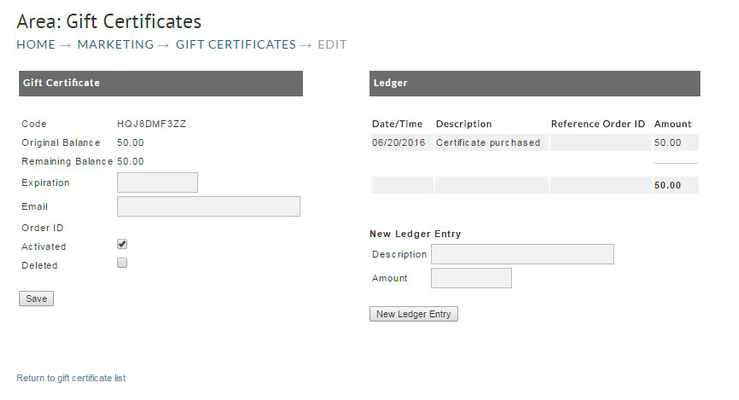
Code | is the auto-generated code that was assigned when the certificate is purchased (store item method) or created (on demand method). |
Original Balance | indicates the value of the Certificate. |
Remaining Balance | indicates the balance available (in the case where the customer purchased an item valued less than the value of the certificate). |
Expiration | is the date that you initially set for the certificate to expire. |
If this certificate is sold as an item the customer email will be provided in this field. | |
Order ID | If this certificate is sold as an item the Order ID that it was purchased on will be provided here. |
...
This section of the Certificate Editing Screen gives you a "line-by-line" accounting recorded as each transaction is made. In our example below, you'll see the three entries, the certificate purchase, a customer's store purchase and a New Ledger Entry. Note that the ledger keeps a running balance of the certificates value.

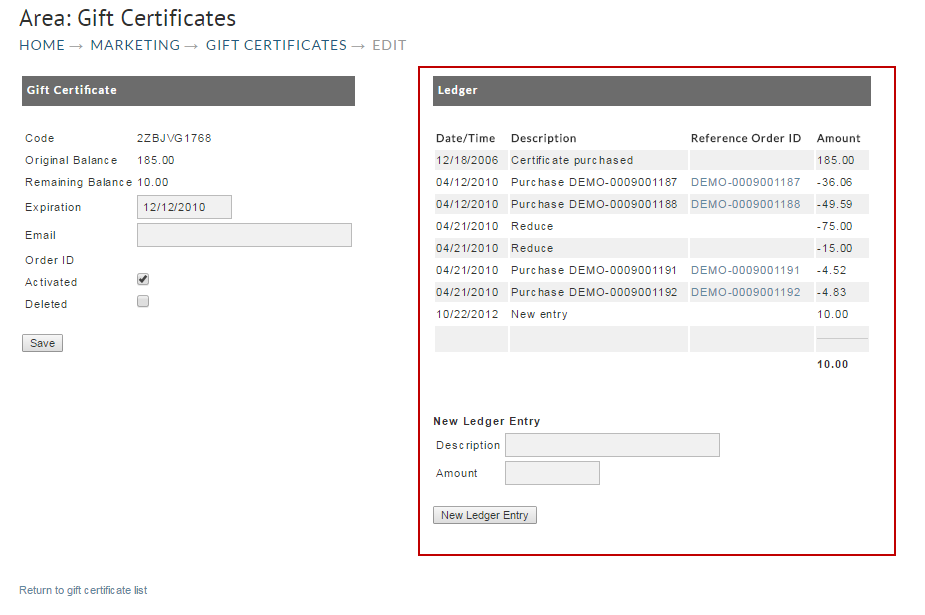
Certificate Ledger Entry
...