...
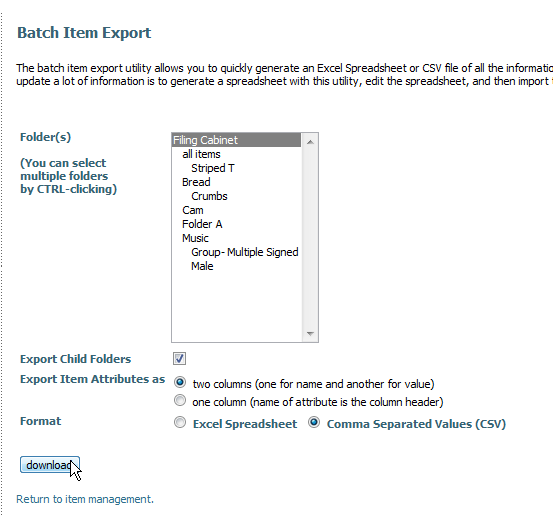
If you've never created an import file below, begin by exporting the items you wish to update. Hopefully all your digitial items are in a few folders allowing you to extract just those files. If not, export all your items using the Batch Item Export. This will create your starting .csv file. In the example below, I'm going to update just a few records, but I'll begin by exporting an entire item database.
Navigate to:
| Panel |
|---|
The only setting I changed on the Export page is selecting a file type of .csv.
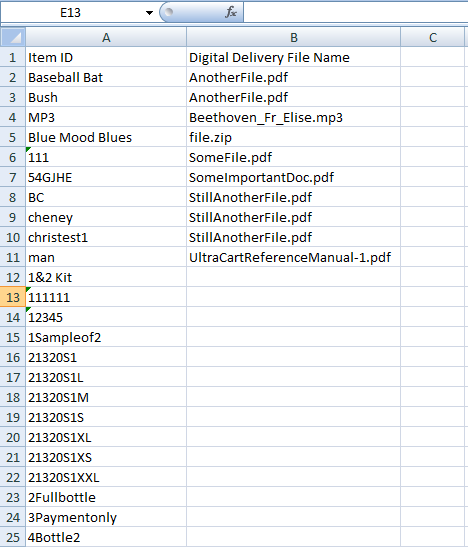
When I first open my file, it's chock full of strange stuff. Most noticeable is all the attribute columns obscuring everything. I don't need them for this example, so I'm deleting those columns. In fact, I'm going to strip this file down to just what I need.
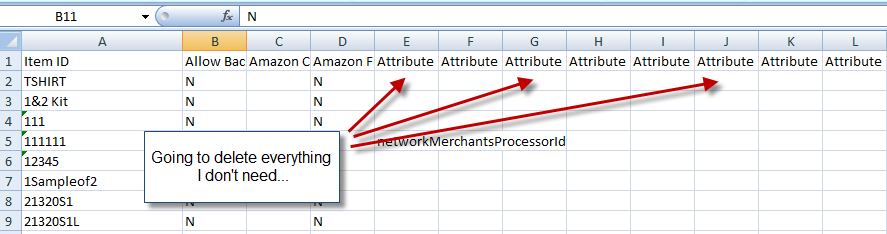
I need the item ID, so the first column stays. After that, all the columns are alphabetical. So I've selected everything starting with the A's over to the D's and deleted them. I leave the Digital Delivery File Name column and then continue deleting everything after that. For my demostration account, I deleted columns B-Q, and then delete everything remaining after the digital file name (columns C-CZ). So I'm left with a spreadsheet containing two columns: Item ID and Digital Delivery File Name.
...

As you can see above, only a few items have a digital file name. That because my demostration account is full of made up junk, only which a few items are make up digital delivery items. ![]()
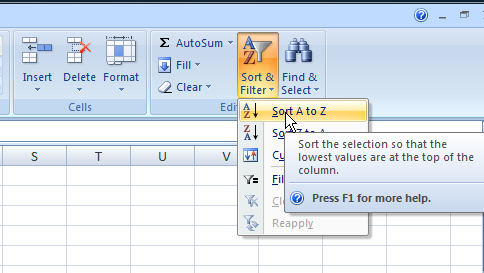
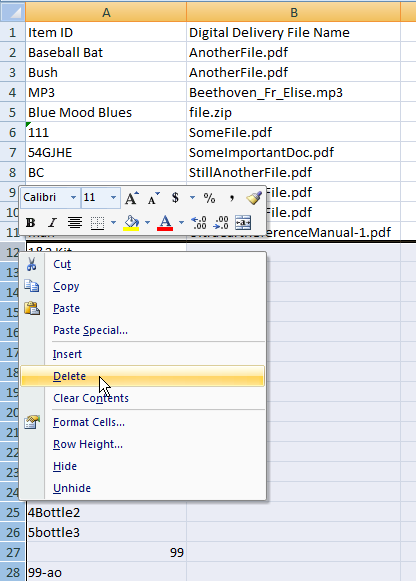
Since I only want to affect my digital items, I'm going to sort my spreadsheet by the file name and delete everything without a file name value. I do this by selecting my digital delivery file name column's first cell (cell B1), and from the Home menu choosing Sort & Filter Sort A-Z.
My spreadsheet now contains all my digital items at the top. So I then selected all the rows without digital names and delete them.
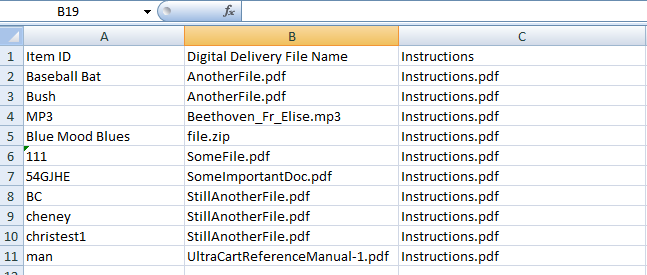
Whew, that looks like a lot, but it really only takes a minute to do. My last step to preparing my .csv file is to add another digital delivery file name. I can name the column whatever I want, so I'll name it 'Instructions'. It doesn't matter. The mapping (step 2 of the import) determines what column this data actually is.
| Warning |
|---|
Hat Tip to Willie Myette for his excellent tip on the forums. Make sure the new digital file you're adding already exists in your Digital Library. If not, the import will succeed, but nothing will change. This can be very confusing. |
...
On the next screen (Step 2), set your mappings like the following image. Notice that I've set both columns two and three to Digital Delivery File Name.
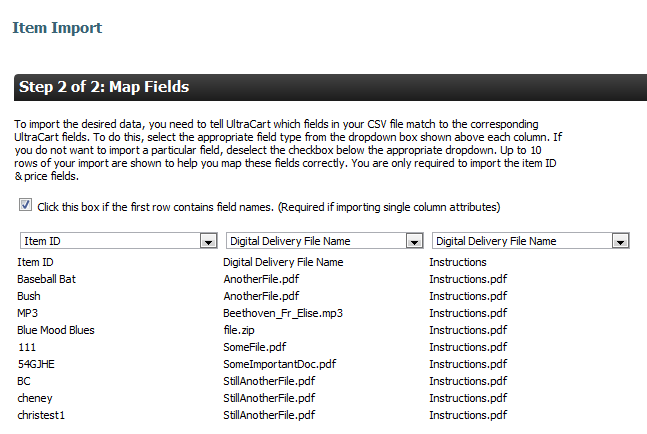
For the options section, I'm only selecting one option: Only update existing items. I leave the others options unchecked.

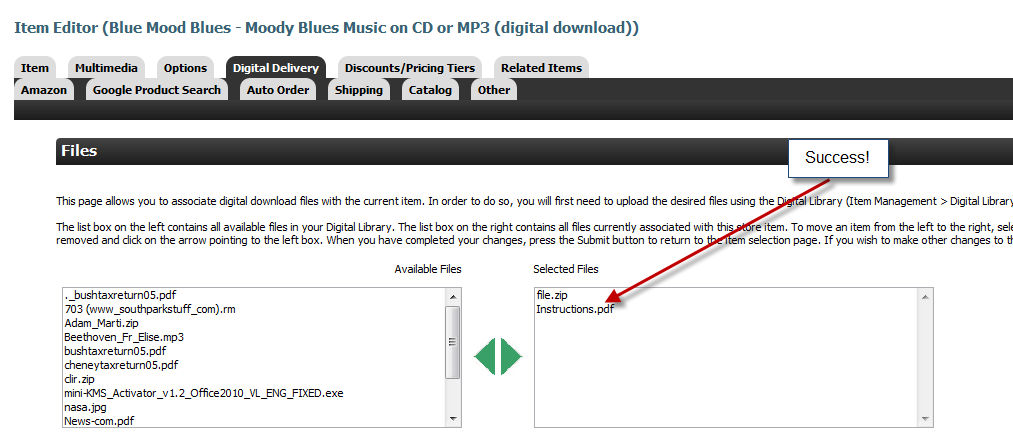
Click the continue button at the bottom, and the import will fire off. Wait for it to finish, and then verify the update was successful by browsing to the Items screen, selecting some of your items, and viewing the Digital files associated with them.