| Table of Contents |
|---|
Prerequisite
Before you start adding blog posts, you should create a blog first. Please see this tutorial if you have not created any blog pages yet.
...
| Tip |
|---|
Before clicking the New Blog Post button, click on the Blog Settings tab and add some authors. You'll need them later in this tutorial. |
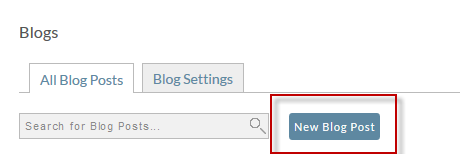
Creating a Blog Post
Click on the New Blog Post button.
Steps
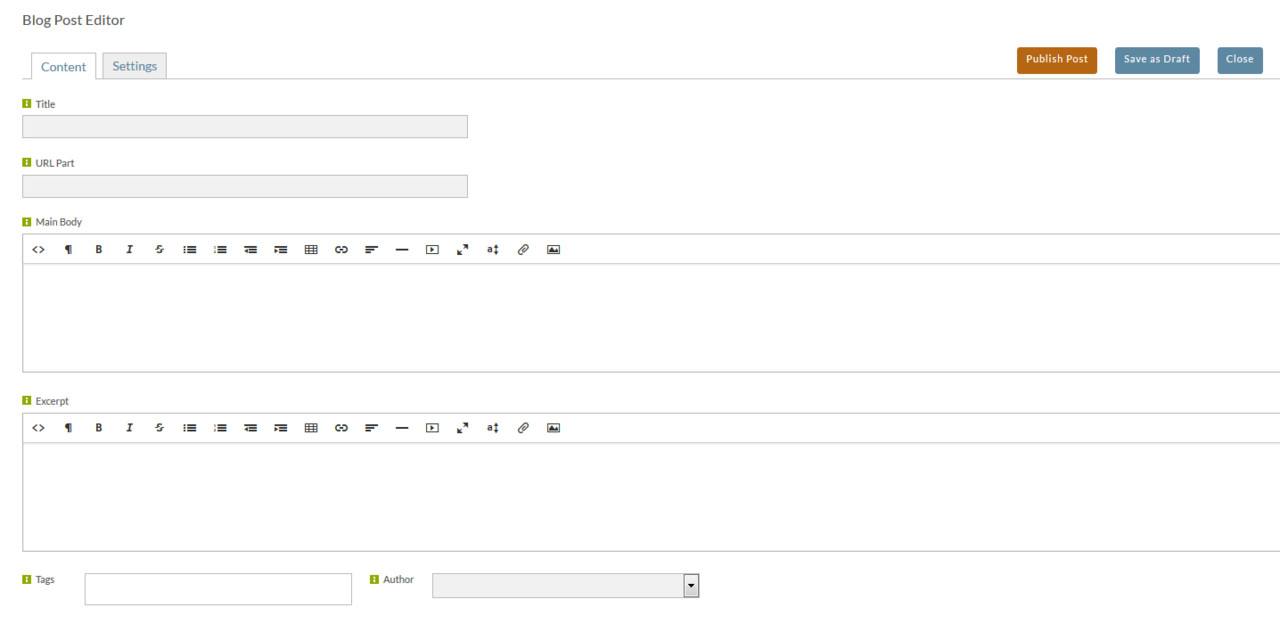
On the content tab, add the following:
- Title - This will be use to automatically create the url part for you (try it!). The title should be descriptive and relatively unique. There is no mimimum length, and the maximum length is 1000. But, keep in mind this url may be copied/pasted into an email client to share, etc. So 50-100 characters will create a much more reasonable url.
- Main Body - This is the blog conten
- Excerpt - This is a small excerpt that will display on the blog page when displaying multiple posts. Please keep this as brief, yet informative, as possible.
- Tags - Tags are used to categorize blog posts further. Tags are used by the blog pages to filter content. You may assign a blog page all posts with a particular tag to dynamically assign any future blog posts to that page. To enter multiple tags, type a comma after each tag.
- Select an author of the blog post. Authors are managed on the Settings tab of the Blogs page (this is NOT the Settings tab you see below – that is settings for this individual post). If you need to add authors, click Close, and then click the Settings tab that appears.
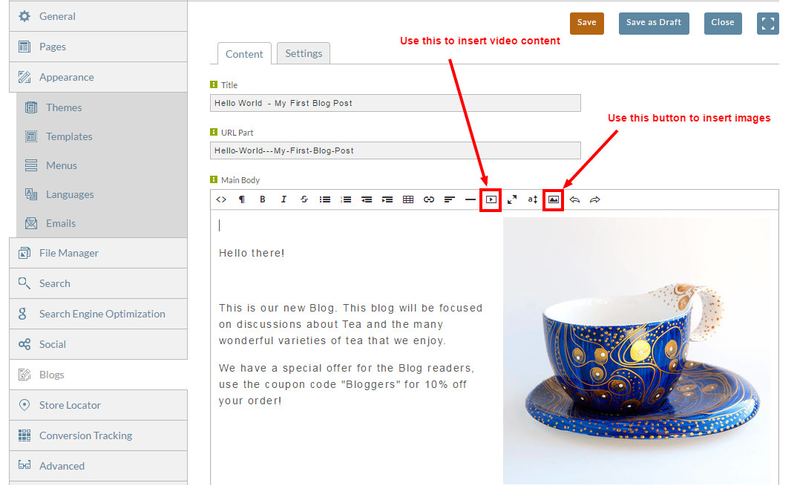
Multimedia Support
You can include multimedia in your blog posts, using either the WYSIWYG or HTML editor options.
When using the WYSIWYG editor you'll have two multimedia tools in the editor:
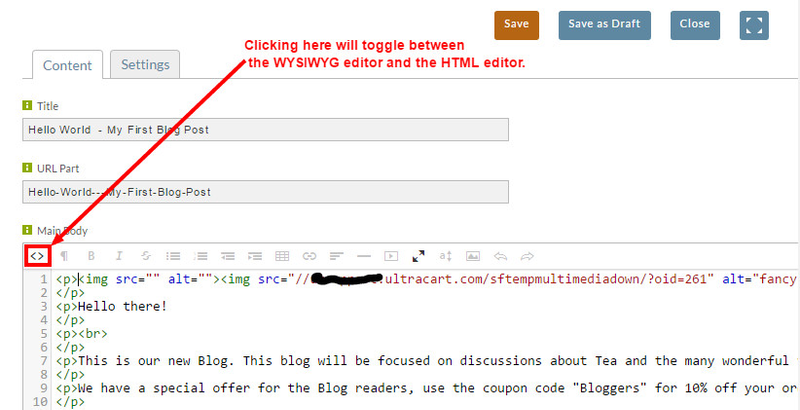
If you prefer the editor to display the HTML, click the "<>" located in the far-left side of the WYSIWYG Editor toolbar:
When you've finished adding content, click on the Settings tab.
...