Managing Email List
Introduction
To manage your existing Email List(s), navigate to:
Main Menu → Marketing → Email Lists
*LEGACY email lists - see Storefront Communications for current Email List functionality.
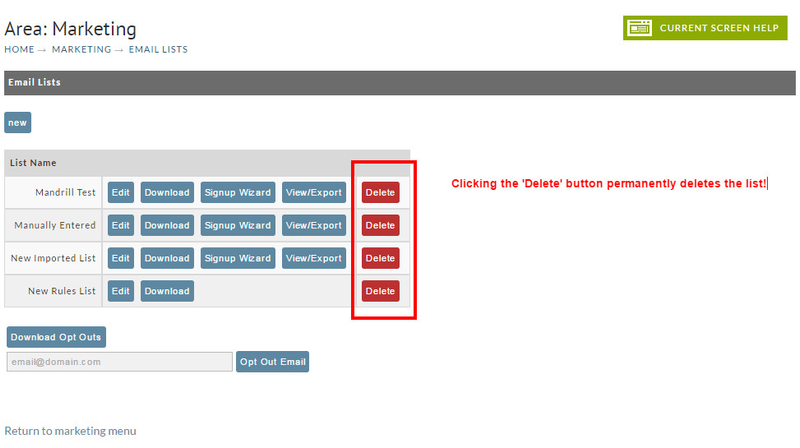
At the Email Lists screen, your email lists will be sorted alphabetically by name. The following functions can be performed via the click on any of four different buttons that appear to the right of the List Name. They are Edit, Signup Wizard, View/Export and Delete. The Signup Wizard and View/Export are not available functions for Rule Based Lists. 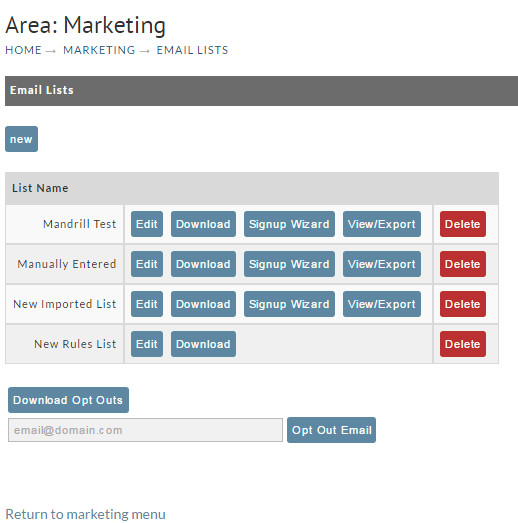
Editing Email Lists
Given that there are three different types of Email lists, the editing method will differ for each as explained below.
Edit Imported Email List
You cannot make changes to the information contained in this type list directly through this interface. You can, however, import an updated list and have the new list "overwrite" (replace) or "append" (add to) the existing list.
When your click on the "Edit" button to the right of any "imported" type list, you will be returned to the "Import Email List" screen. Click on the "Browse…" button to navigate and locate your new file.
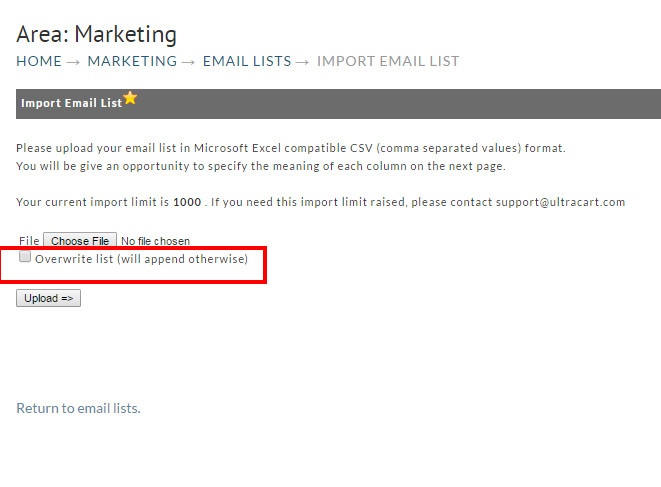
Click on the check box if you want to "overwrite" (erase) the existing file with the new one. If you leave the check box blank, the new file will "append" (be added) to the existing one. Click on the "Upload" button when finished.
The "Identify Columns" screen will appear. Select the appropriate column names from the drop down lists. If the first row of your file consists of the column names, click on the check box "First line is column headers".
This will insure that the column names will not be included in the file. Click on the "Submit" button.
Edit Manual Email List
The manual email list can indeed be manually edited. You can change the name of the list and/or edit the email addresses.
Click on the "Edit" button to the right of the Manual Email list you want to edit. The "Manual Edit" screen will appear. You can add or delete addresses as desired.
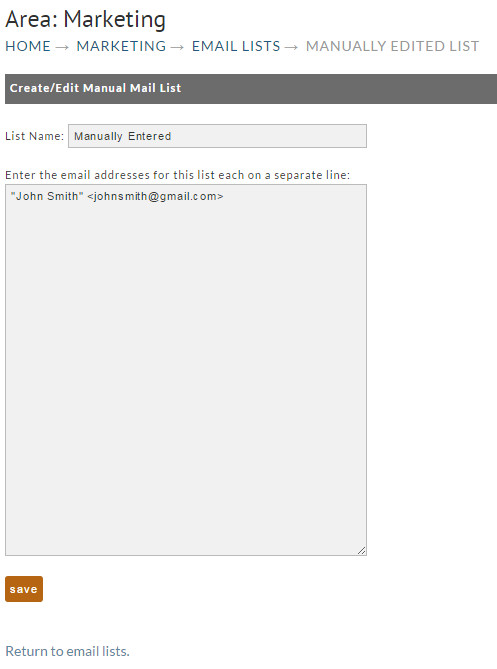
Typical word processing functions are enabled such as; selecting (highlighting) text with mouse clicks or drags, copy and paste, etc. Click on the "Submit" button at the bottom of the screen to save your edits.
Edit Rule Based List
Click on the "Edit" button to the right of the Rules Based Email list you want to edit. You will be taken to the Rules Based Email List screen.
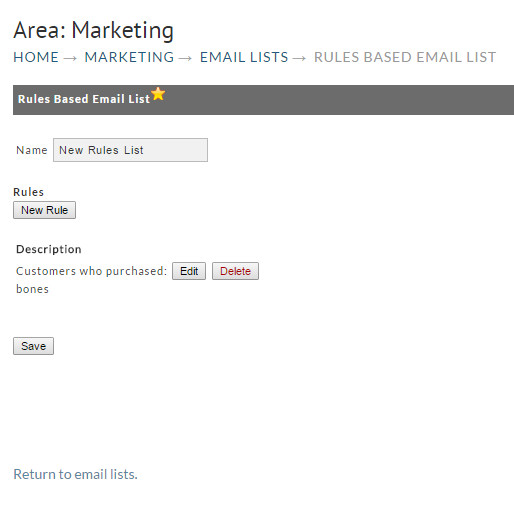
You can change the name of the list simply by deleting the text in the name box and retyping. Adding new rules, editing existing rules or deleting rules is explained in the section "Rules Based Email List".
Deleting an Email List
Click on the "Delete" button to the far right of the list you want to delete. You will be prompted with a "are you sure you want to delete this list?" dialog box. Click the "OK" button to proceed with the deletion. Click the "Cancel" button to return to the List Screen without deleting the list.
View/Export Email List
This feature is available for the Imported and Manual Lists types only. Click on the "View/Export" button to the right of the list you wish to view. The view/Export List window will appear with your email list displayed.
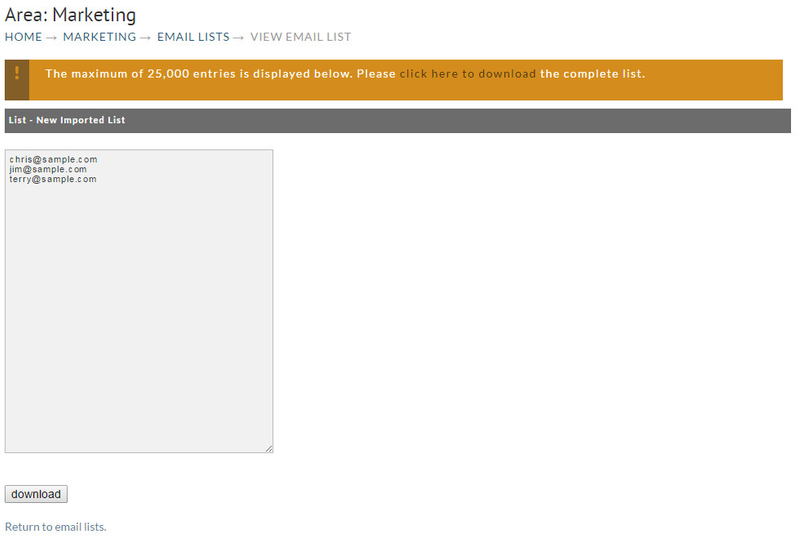
Click on the "Click here to export this list in .CSV format" link. A dialog box should appear allowing you to save the .csv file to your system. This window will differ from PC to PC depending on the operating system you are using.
Signup Wizard
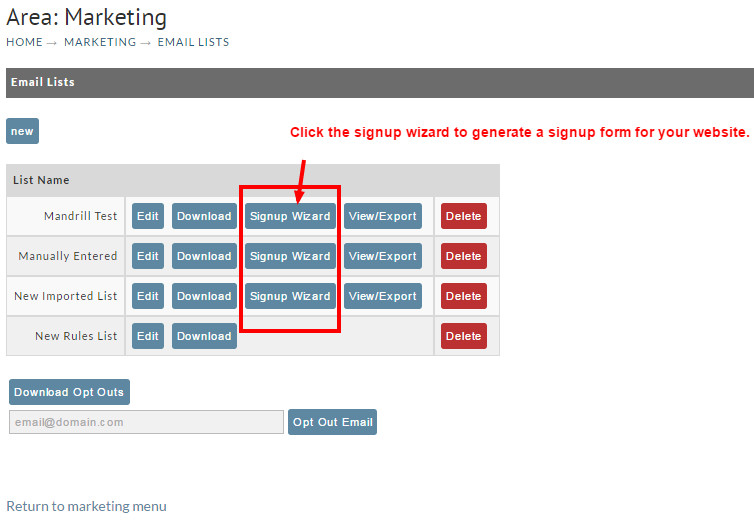
The signup wizard allows you to create a custom HTML fragment that, when placed on your internet pages, will allow shoppers/customers to automatically Subscribe and Unsubscribe from the list specified.
- Only imported and manual list types support the Signup wizard. If you do not have any existing customers for the list, create an empty manual list.
To begin the Signup Wizard, click on the "Signup Wizard" button to the right of the E-Mail list desired.
The first step in creating the Signup HTML fragment is to specify the URL of the page the user will be sent to after they subscribe or unsubscribe from the list.
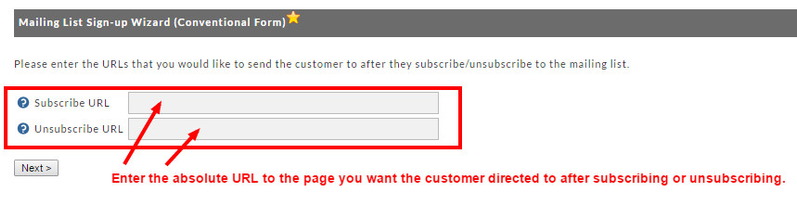
Please be sure to include the full internet address of the page location as relative locations sometimes work incorrectly in redirects. For example, if your website is located at http://www.sample.com/, enter http://www.sample.com/subscribe.html* instead of */subscribe.html and http://www.sample.com/unsubsribe.html. When you have entered the desired URL entries, click on the "Next" button.

You will now be taken to the final screen of the Signup Wizard. In the text box is the HTML fragment needed to place the signup form on your page. Merchants using an HTML editor should be able to simply copy & paste the text into the source view of the editor. Once you have posted the new page with this new HTML fragment, your customers will be able to subscribe & unsubscribe from the specified list.
The generated HTML includes such design elements as style sheets, and introductory copy. You may remove and customize these elements as you wish, as long as you leave the necessary form fields in place.
Opt Out Email Address
The Opt Out E-Mail Address feature allows you to enter a known email address to unsubscribe a user from an email list.

Enter the exact email address into the box below "Opt Out E-Mail Address". Then click on the "Opt Out" button.
Note: All email addresses that are created in all of your lists will be permanently maintained in an UltraCart file even if you delete a list from your Email Lists screen. They are maintained because customers may use the Signup Wizard to "unsubscribe" from a list at a later date.