Defining the view (items)
At the Item Cleanup Utility screen you will find 2 questions that need answering in order to bring certain records in view for editing. They are: 1) Work on: (where do the records reside) and 2) Select the task to complete: (all items or those without image URLS's).
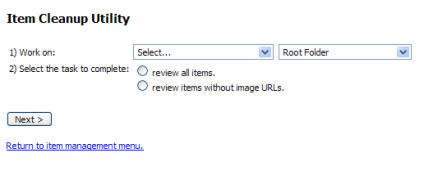
Figure 328 - Item Cleanup Utility screen
Field No. 1 – Work on
Here you decide which categories (folders) you want to work within. There are two fields (drop-down menus) that you will make selections from; Select Category and Select Folder.
- Select Category
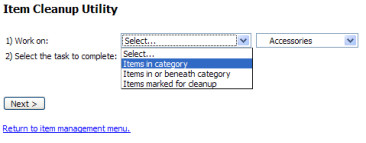
In this field you inform the system which Items you want to work on:
- Items in category: This will bring up only the store items that reside in the folder you select in the next field.
- Items in or beneath category: This will bring up store items that reside in the folder you select in the next field AND items in any folder residing below.
- Items marked for cleanup: This will bring up only the store items that you previously Marked for Cleanup in the importing [options] process (see page ).
- Select Folder
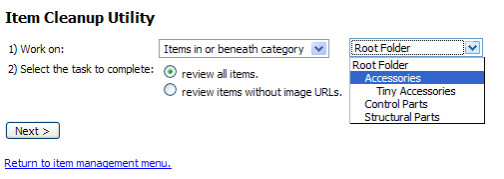
In this field you will select which folder you want to work with. In the above example, you would be presented with all store items that reside in the Accessories AND the Tiny Accessories folders.
Field #2 - Select the task to complete
This setting allows you to either "review all items" or "review items without image URLs" (have yet had their image URLs identified).
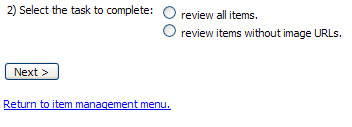
Click on the Radio button for either "review all items" (all store item that reside in the folders identified will appear for editing) or "review items without image URLs" (only store items that do not have an image URL identified will appear for editing).
Click on the "Next" button when finished.