Changing a Color Setting
Many element types have color settings associated with them such as text color, background color, or hover colors. In this example we're going to change the background color of a container. After opening the settings for the container we see a background color setting (absence of color) as shown below.
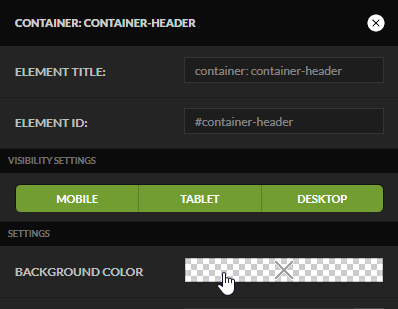
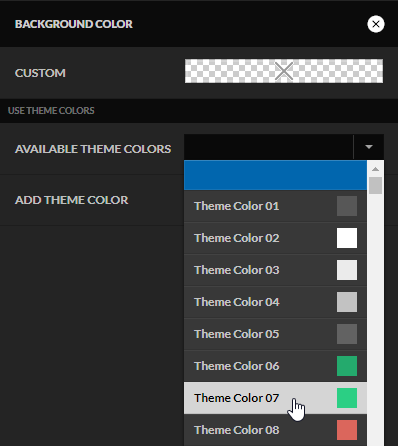
Click on the color setting as shown above and another side panel will appear. We can either click Custom and select a color or choose one of the existing pre-defined theme colors.
If you click on a color then a color picker will appear as shown below.
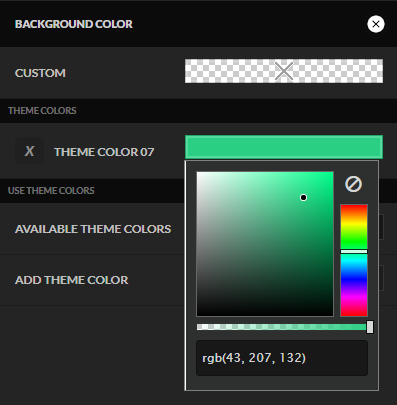
If you make changes to a theme color, that change will save immediately and all the elements on the page that use that theme color will be altered. Change your core theme colors carefully. Some elements on your page may already have a theme color selected. If you want to change it, just click on custom and select a new theme color. In the example below, this element is going to be red since the custom color is set instead of the green theme color.
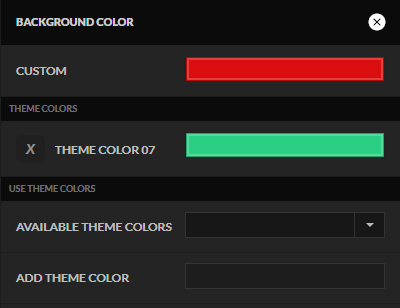
By default a theme ships with approximately 10 different theme colors and 2 theme overlay colors. You may want to adjust those predefined theme colors using the technique listed above, but some times you want to define new theme colors so you can reuse them throughout your site. On the color dialog, first enter the name of the new theme color in the field shown below. This is NOT the color value yet. It's a name like "section background". Make it short, but something you will recognize in the drop down list of theme colors.
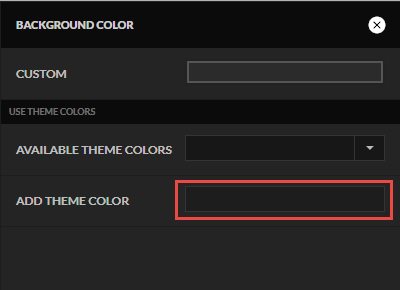
Now that you've created the new theme color, click on the color palette and set the desired color value.
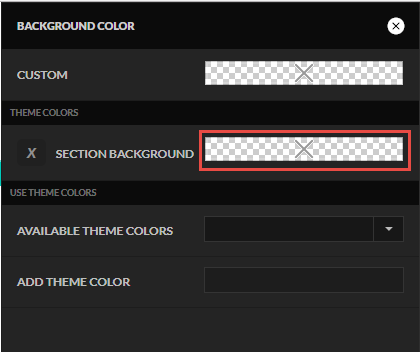
When you are finished the theme color should have the value that you configured as shown below.
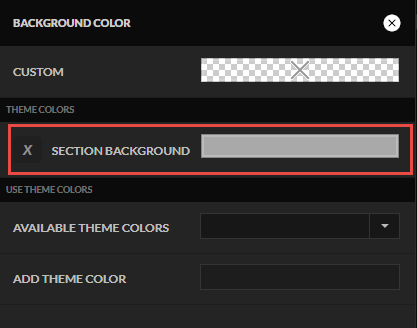
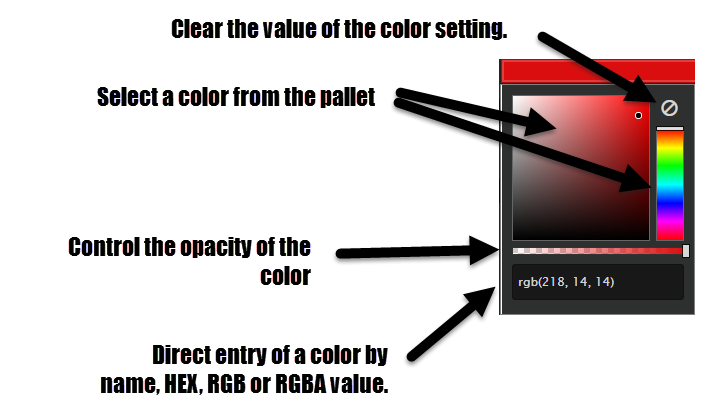
The picture below shows you all the inputs that can control the color value. The direct entry of a color name is really nice. If you want the color black just enter "black" into the field and it will automatically convert it to the proper HTML color value.
