Wait ... where's my button?
The first step to creating a new StoreFront is checking to see if you have the New StoreFront button. If you do, skip this next list of steps and skip down to the next set of screenshots.
NOTE: If you don't have that button, it's because you've already used your two default StoreFronts, which are MERCHANTID.ultracartstore.com and MERCHANTID.ultracartdev.com. To add more storefronts, you need to rename one of those StoreFronts. After that, you'll have the ability to create another StoreFront.
Steps:
- On the General tab of the StoreFront to be renamed, click on the
Change StoreFront Locationbutton. - The Edit StoreFront URL popup will appear. Click on the pencil icon next to your StoreFront URL. The pencil icon is blue and, let's be honest, very difficult to see.
- When the screen changes, select a new prefix (and domain if desired), and click the
savebutton. - After that, you'll have the button that displays below.
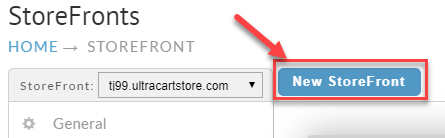
After you have completed the process of changing one of your existing StoreFronts locations, you can then create a new StoreFront on your account. First click on the New StoreFront button as shown below.

Then select the host name that is available and click Create StoreFront.
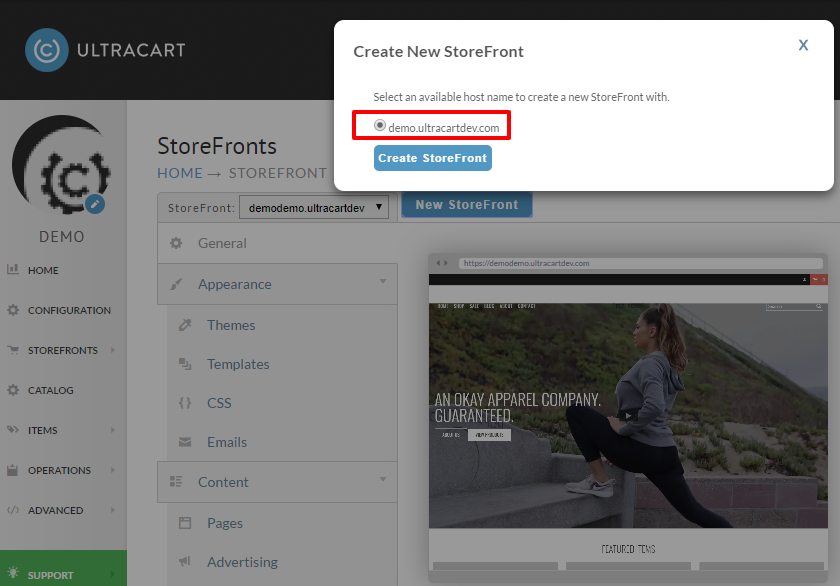
It takes approximately 45 seconds for the new StoreFront to be created. It will be populated with the default theme and a sample store.
Question: Why not just have the New StoreFront button always visible?
Answer: The original design allowed for just two default StoreFronts. The ability to have more StoreFronts anchored to the ultracartstore.com and ultracartdev.com domains was an added feature. In the original design, the button would only appear after one of the StoreFronts was re-assigned to a custom domain name associated with its own SSL certificate.