| Table of Contents |
|---|
Navigation
| Panel |
|---|
Main Menu → Operations → Marketing → Email Lists → New Email List |
List Types
Before creating an email marketing campaign, you need to create an email list. UltraCart supports 3 types of e-mail lists; Rules Based, Manual Entry and Imported. They are described as follows:
Rules Based | UltraCart creates an email list from your existing customer files (orders) based on a set of rules (pre-determined by the merchant). |
Manual Entry | Merchant manual types or "copy & pastes" an existing list of email addresses. Manual Entry lists can accept web based signups as described in the Signup Wizard section. |
Imported | Import a Comma-Delimited File (.csv) into UltraCart. Imported lists can accept web based signups as described in the Signup Wizard section. |
Navigation
| Panel |
|---|
Main Menu → Operations → Marketing → Email Lists → New Email List |
When you arrive at the Email Lists screen and if now lists have previously been created, you'll be greeted with the familiar "No lists are defined...." as shown below:
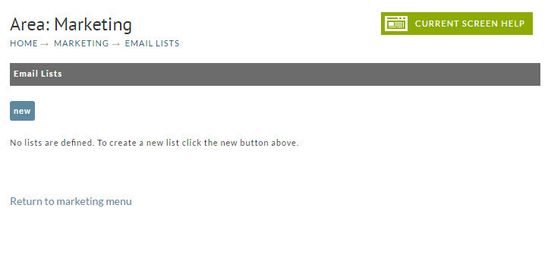
Click the "new" button to create a New Email List.
At the next screen you'll identify the Type of list you want to create.
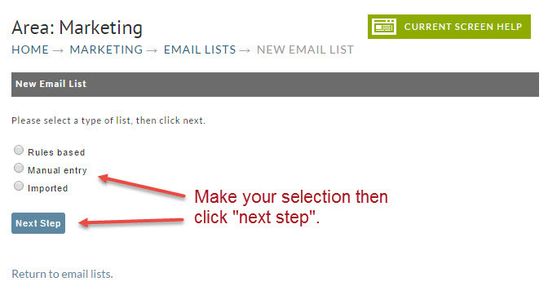
Simply click the radio button to the left of the type you want to create. Then click the Next Step button.
Rules Based List

The Rules Based List is derived from your UltraCart customer file (orders). This list becomes active when you assign it to an email campaign. UltraCart will search through your customers and build the list based on the "rules" that you define. It basically "filters" your customer data base so you can send email campaigns to targeted individuals. The Rules Based list automatically updates whenever you run an email campaign so your new customers, as well as past customers, will be included (if they meet the rule criteria).
...
Customers that have not purchased item(s) | who have not purchased the specified item(s). |
Customers that have purchased item(s) | who have purchased the specified item(s) in a specified (optional) qty. |
Customers that have not purchased within a certain time period | who have not made any purchase in the time specified. |
Customers that have purchased within a certain time period | who have made any purchase within the specified time period. |
Customers that have purchased more than a certain amount | who have made a purchase whose order total was higher than the amount specified. |
Customers that have purchased less than a certain amount | who have made a purchase whose order total was lower than the amount specified. |
Customers located in a certain geographic area | located within the specified geographic area (Country/State). |
Customers not located in a certain geographic area | not located within the specified geographic area (Country/State).. |
Customers located within a certain distance of... | located within a certain distance (miles) of specific Postal Code(s). |
Customers without access to pricing tier(s). | who do not have access to a specified pricing tier(s). |
Customers who have not received marketing e-mail within a certain time period. | who have not received marketing e-mail within a specified number of days. |
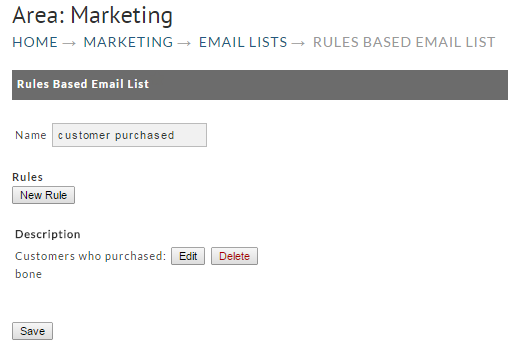
Now that we've explained how the rules work it's time to create the Rule. After clicking the "New Rule" button (shown in the screen shot above) you'll see the following:
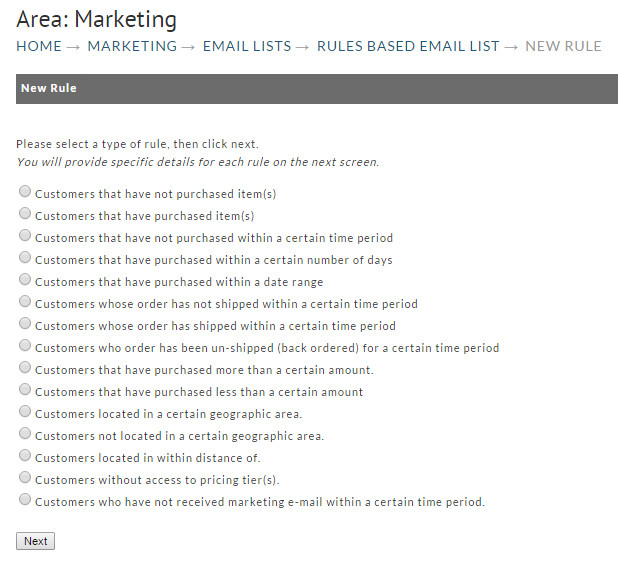
Click the radio button to the left of the rule of choice.
For the following example, we'll say you selected the choice of:
"Customers that have purchased (items)"
At this screen you will see the type of rule you selected and a grey text box providing a space to enter the item(s) the customer must have purchased in order to be added to this Rules Based List.
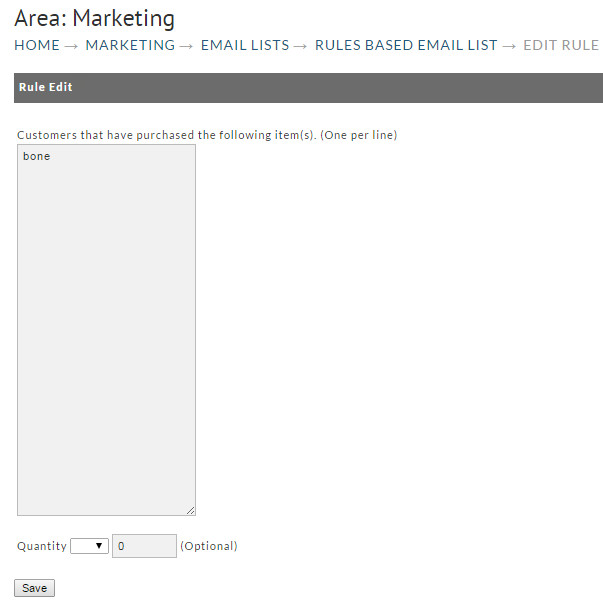
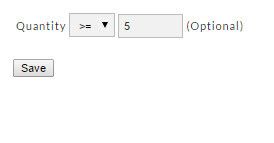
Optionally you can set further requirements on the item purchased such a:
"Greater than or Equal to" (=>) a quantity of (5) as shown below:
Click Save when finished. Your finished Rules Based Email List should look something like this:
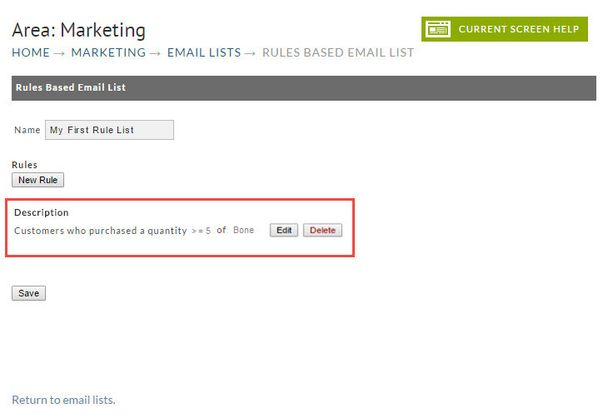
You can combine rules to create sophisticated e-mail campaigns. For example, by combining the "Customers that have purchased within a certain time period" with the "Customers that have purchased more than a certain amount", you can create a custom e-mail campaign that provides an incentive to your best customers to make another purchase.
Note: In order for a customer to be included in a rules-based list, the customer must match ALL specified rules.
...
Imported e-mail lists allow you to upload an existing, comma delimited file (.csv). This email list differs from the Manual Entry list in that it allows 2 new fields to each record in addition to the email address field. They are; First Name and Last Name (or full name). Although the "name" fields are not visible when you later view your list, they will become part of the record and can be "merged" into the body of your email text (explained later).
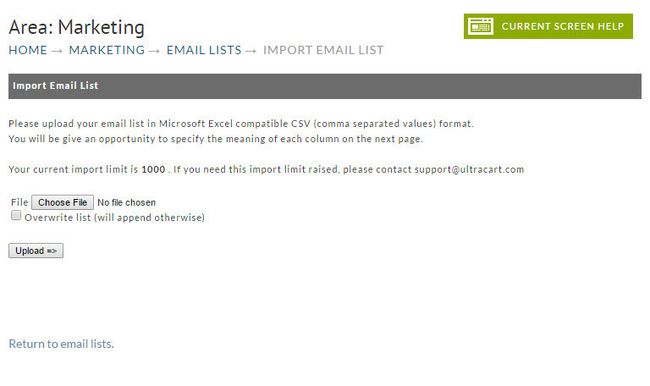
The first step is to locate the file for upload. Click the "choose File button" to browse and find your file. Once done, the file name will replace the "No file chosen" text next to the Choose File button as shown below:
...
Next select the checkbox if you want to Overwrite an existing list. Unchecked means the new file will be automatically appended to the existing one.
Finally, click the Upload button.
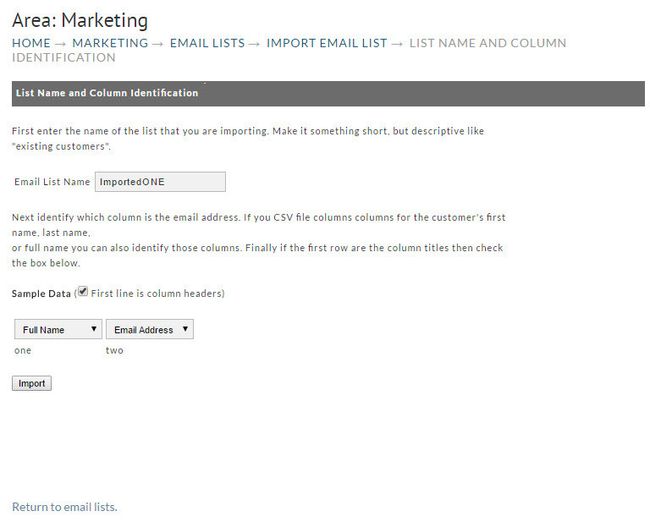
First step is to name Your screen should now look like the following:
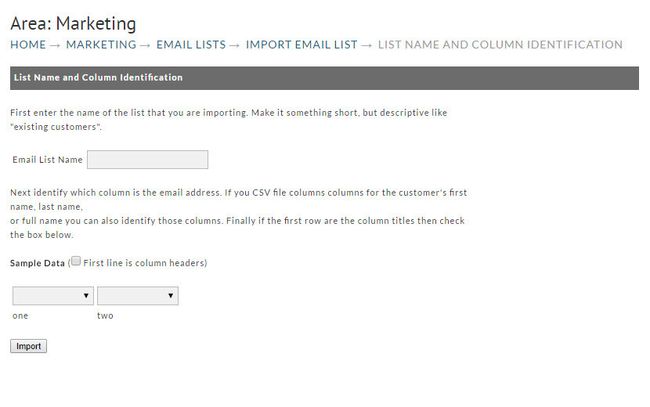
Now that the file is uploaded, there are a couple more steps to preform prior to importing.
- Step 1: Name this newly imported list
...
- as shown below.
- Step 2: Using the drop-down Fields, Identify which field is to
...
- contain the Email Address.
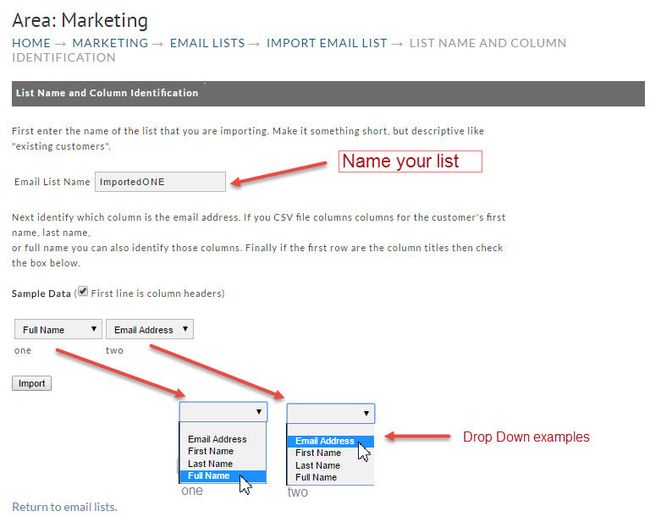
In the above sample, the new list is named "ImportedONE".
Using the column one drop down, we selected it to show the persons Full Name. The In the second column we selected the Email Address. . The following screen shows the results (prior to importing).
When finished, click the "Import button". The next screen will indicate notifies that you will receive an automated email when the import job is completed. The system will send the notice to the email you have configured to your user profile.
...