| Table of Contents |
|---|
You can customize your StoreFront with your company's logo. This is used in a variety of locations throughout the StoreFronts system. You can upload your logo in GIF, JPG, or PNG formats.
| Info | ||
|---|---|---|
| ||
It is HIGHLY recommended that you upload your logo in the .PNG format. The .PNG format offers better image quality for limited color images such as a logo. Additionally, you can save a PNG file with transparency, which can be used to match the logo's background with the StoreFront's colors perfectly. |
Steps for a Visual Builder Enabled Theme
....
Steps for a Non-Visual Builder Enabled Storefront Theme
Here are the steps for changing the web address of your storesample storefront logo to your actual logo for storefront themes that do not have the Visual Builder tool.
- From the StoreFronts page, click on the General tab.
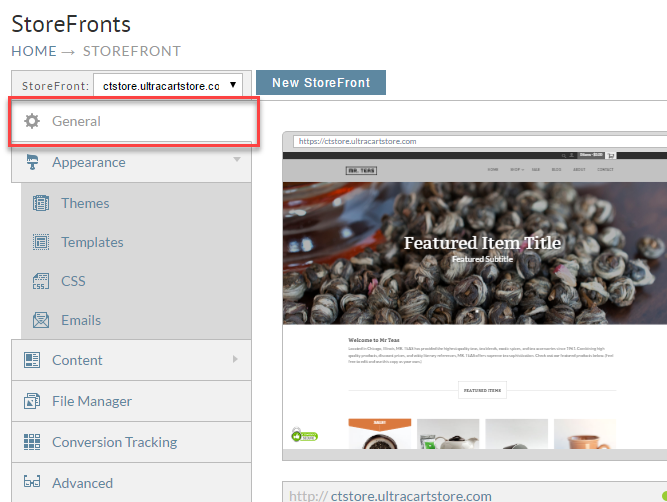
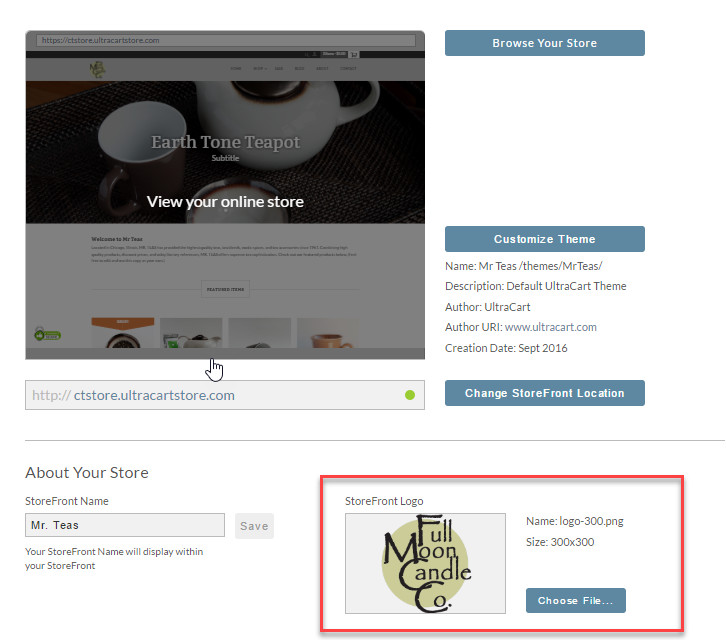
- Under the heading "About Your Store", you will see the label StoreFront Logo. If you currently have a logo uploaded into your StoreFront, it will be shown below the label. If you do not have a logo uploaded, it will be indicated by "No Logo"
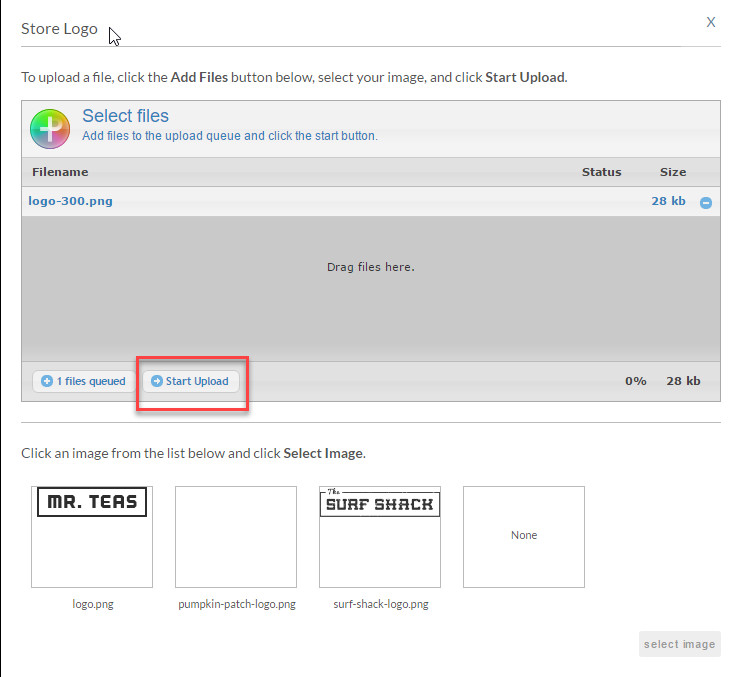
- Click the Choose File... button to bring up the file upload dialog. This screen will allow you to upload a new logo image file, or replace the current logo image with one you have previously uploaded. To upload a new graphic, click the Add Files button, or drag the graphic file to the upload dialog.
- After you have added your new logo file, click the Begin Upload button.
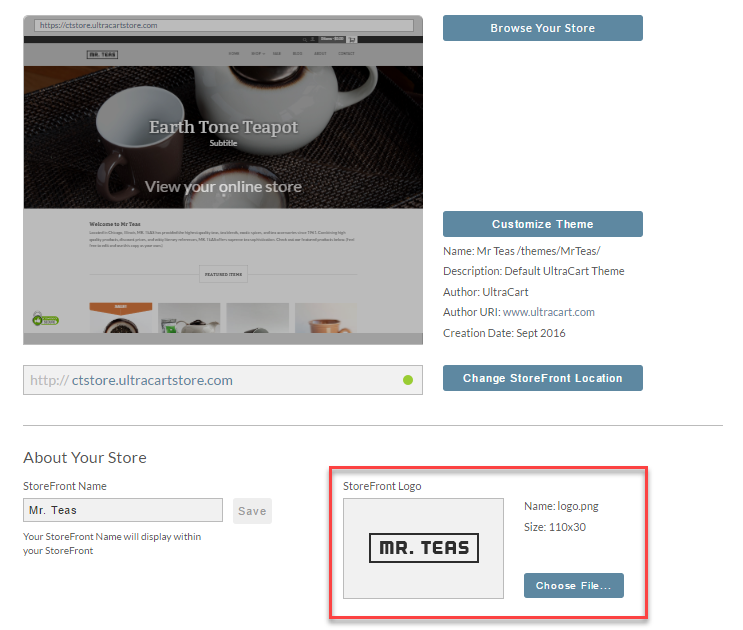
- The file will then be uploaded, and you will see it at the bottom of the dialog. Select the logo you wish to use, and press the Select Image button.
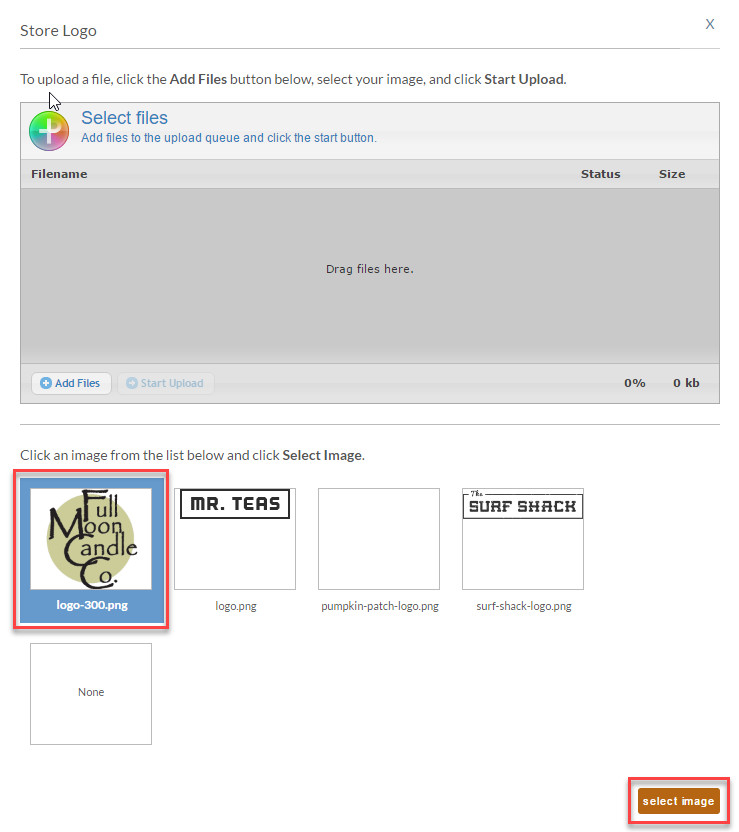
- Your new logo will be shown, along with its file name and its dimensions.